27 August 2024
Niet gecategoriseerd
Back to school at the Nederlandse Fotovakschool!
Self development is important, even as a photographer. Perhaps especially as a photographer, since photography is becoming more and more accessible to everyone. That is great, because taking pictures is fun, whether you do it professionally or just on your annual holiday. But the increasing popularity of photography creates a saturated market, in which it is important as a photographer to continue to distinguish yourself in terms of technique and creative thinking. With that thought in mind, I registered for the Summer School of the Nederlandse Fotovakschool (Dutch Photography School). So back to school it was! In this blog I want to tell you more about the different techniques that I covered during the course. I will share the results of the assignments at the bottom of the accompanying text. I also made a final assignment, you can read about that in my next blog. Let’s Go!
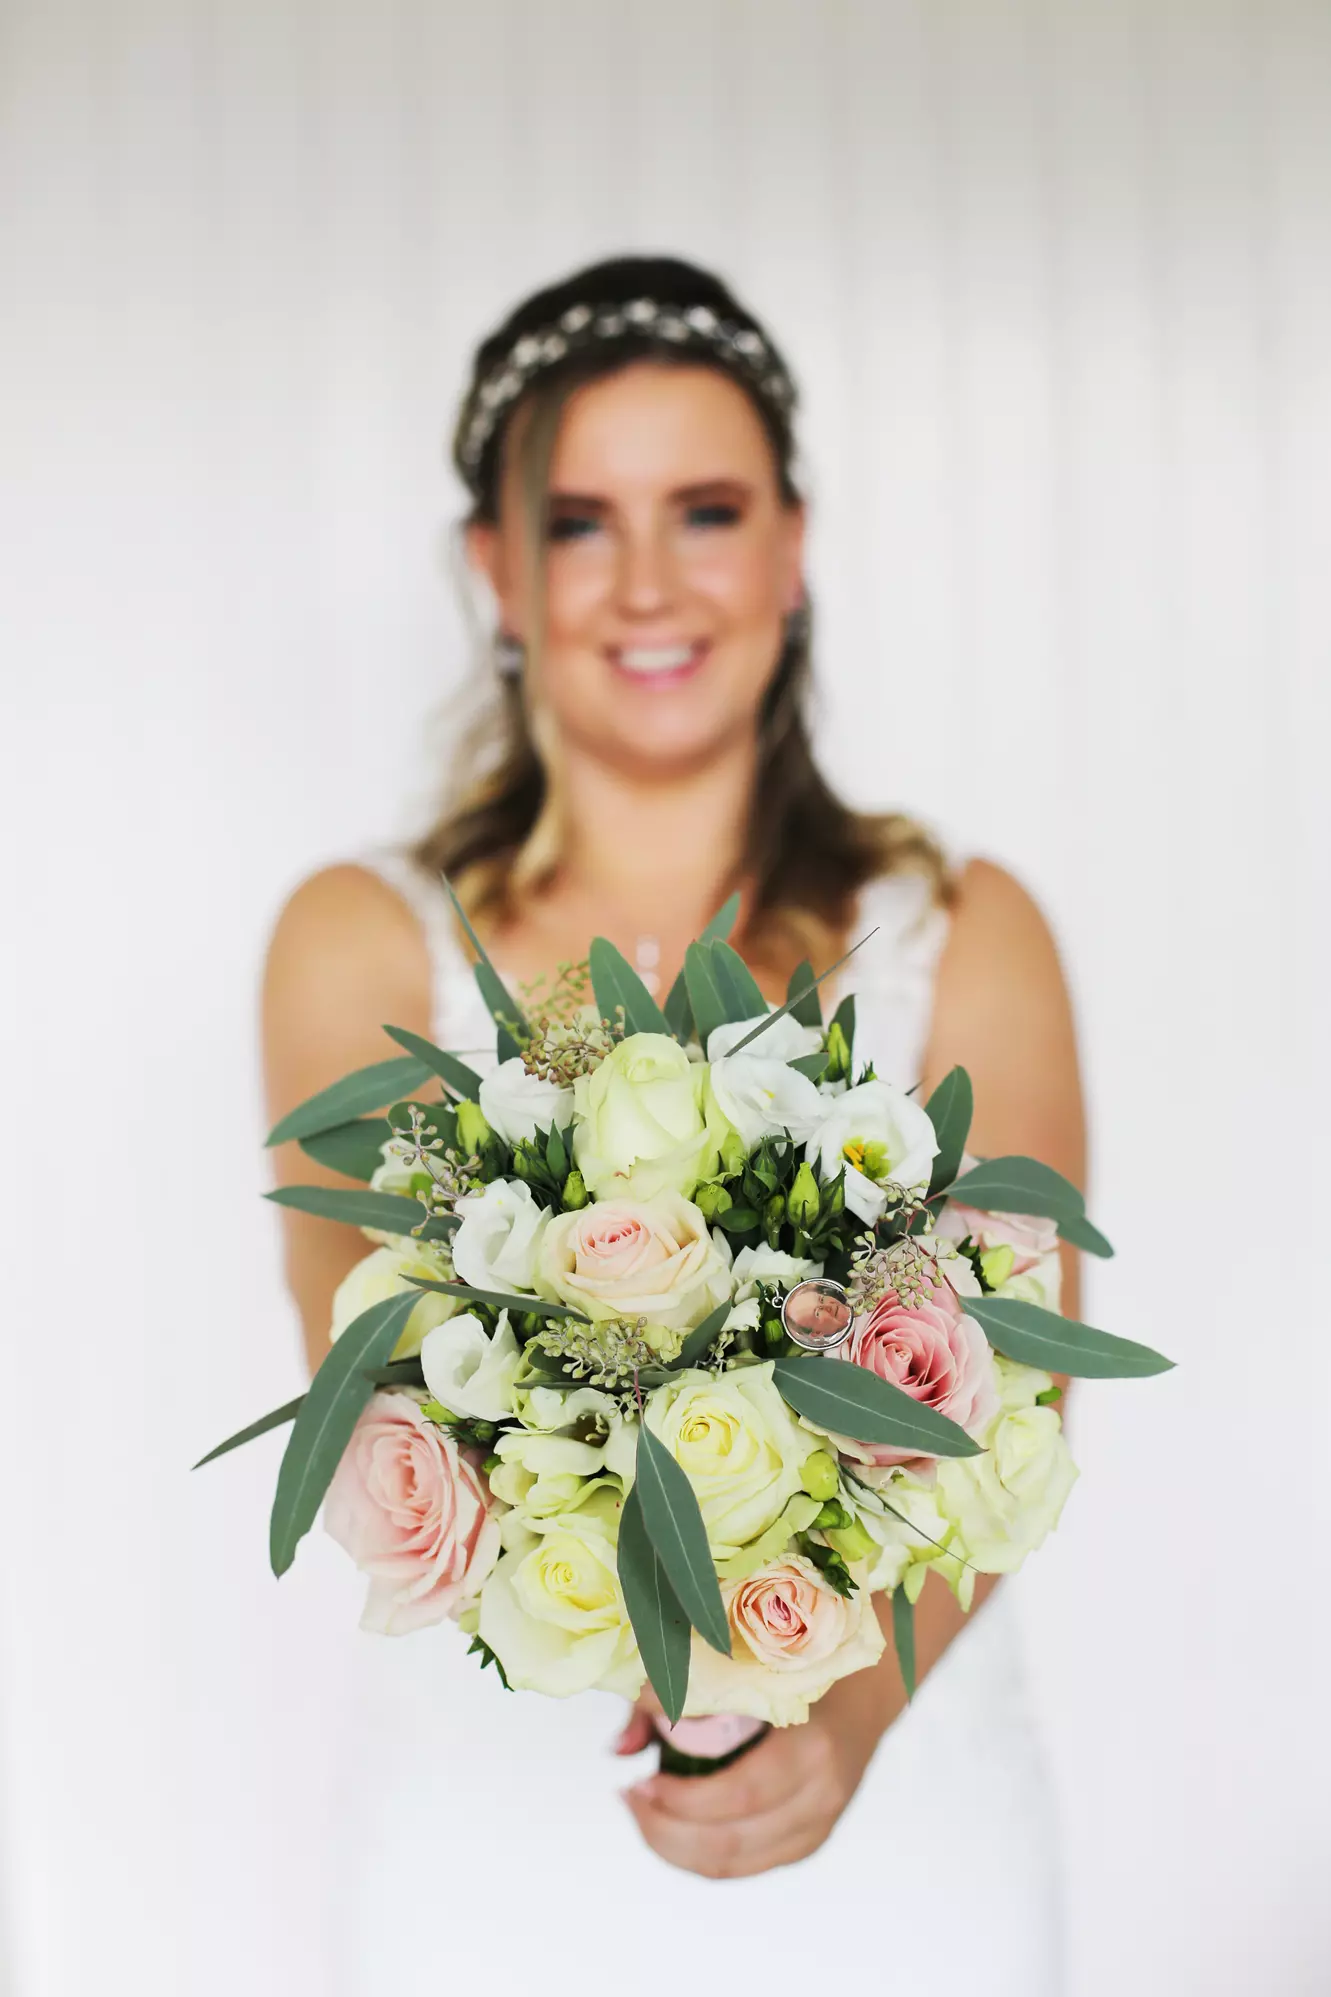
Portrait photography
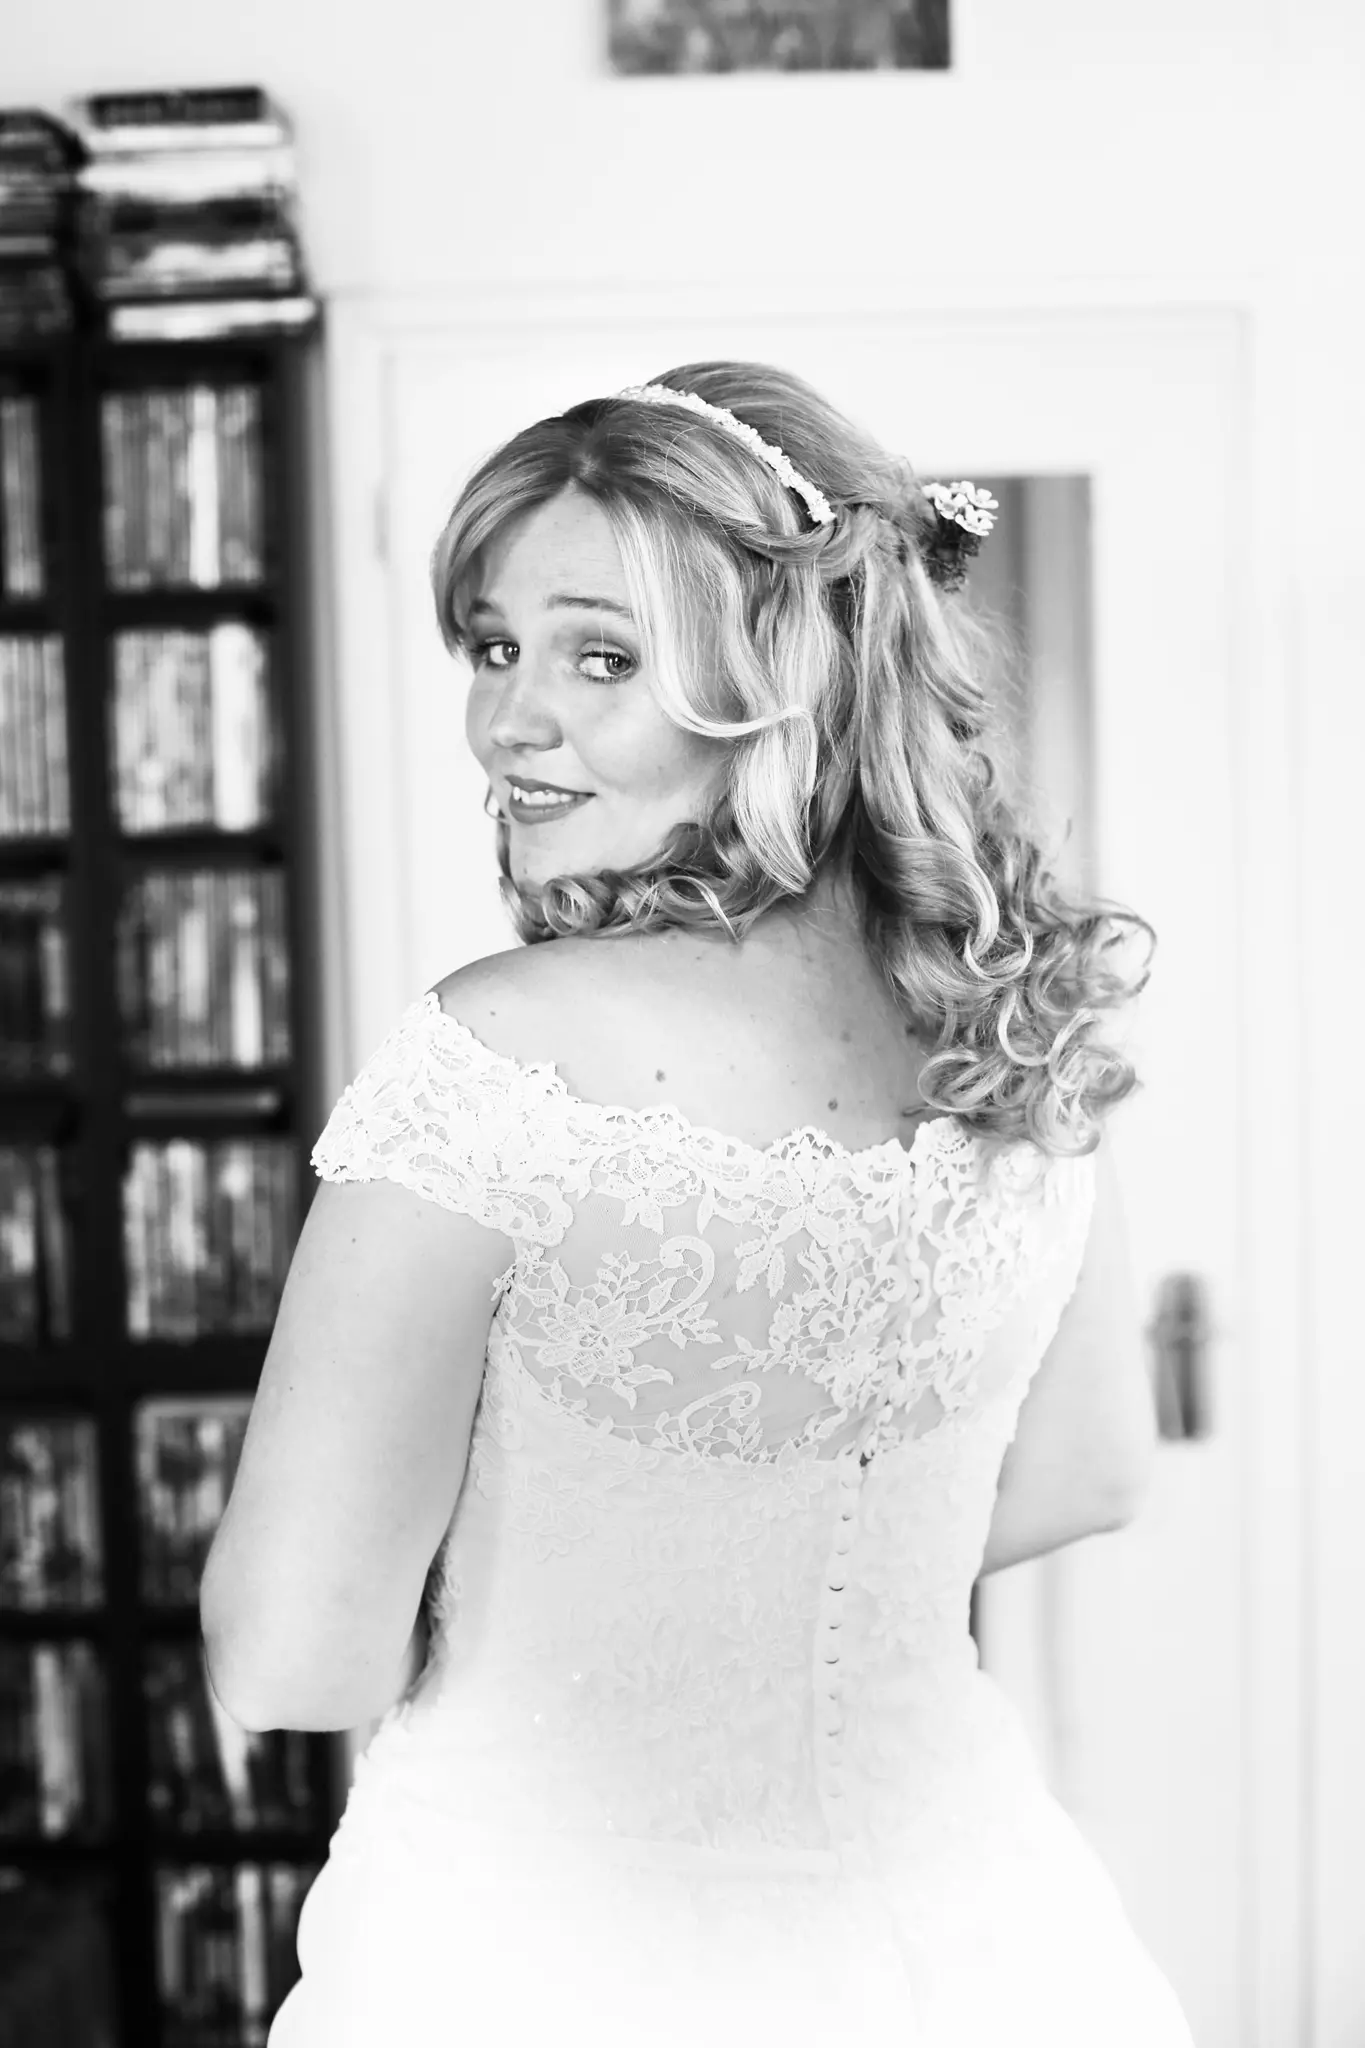
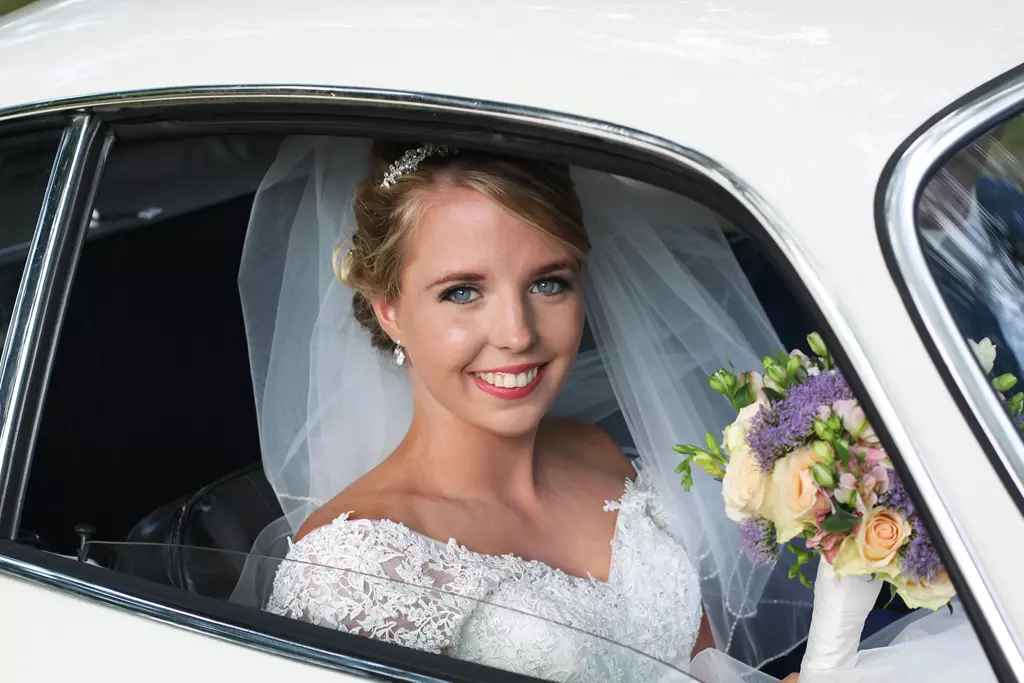
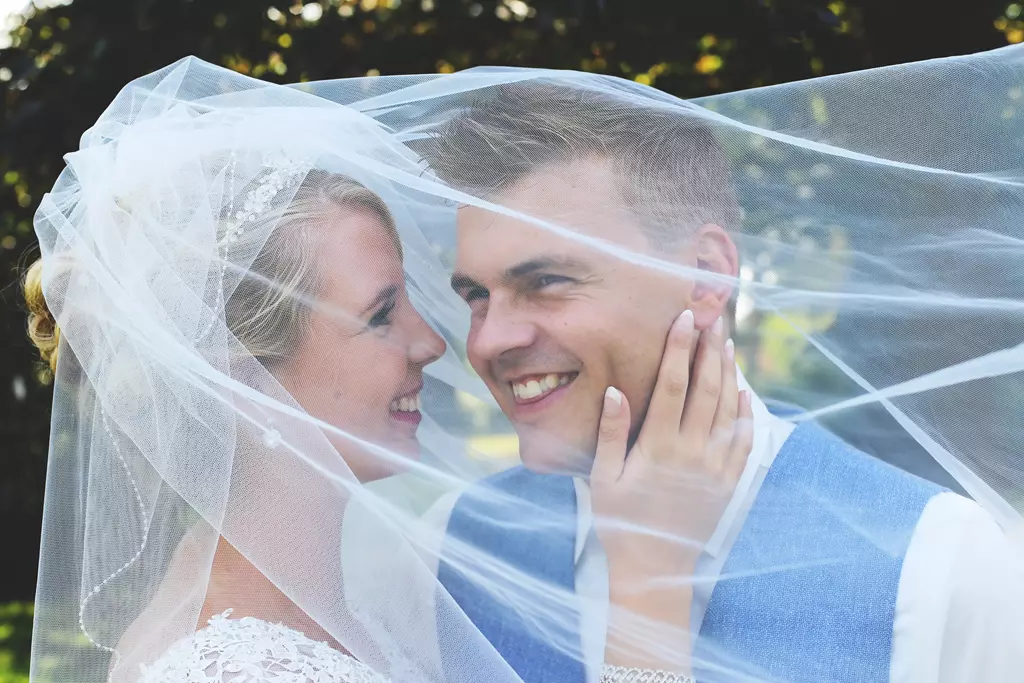
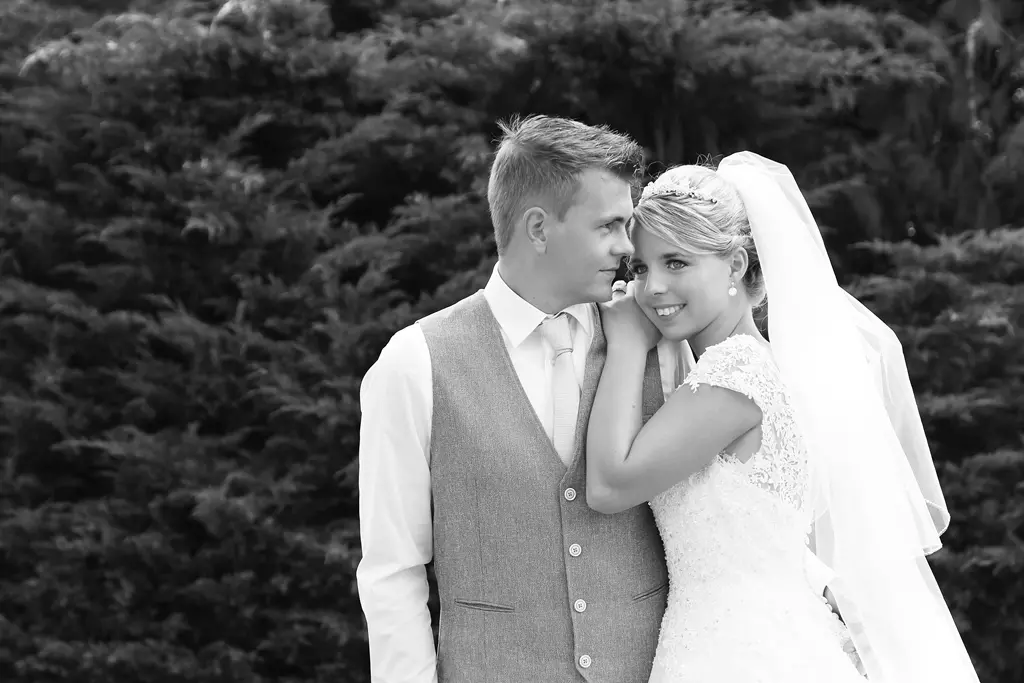
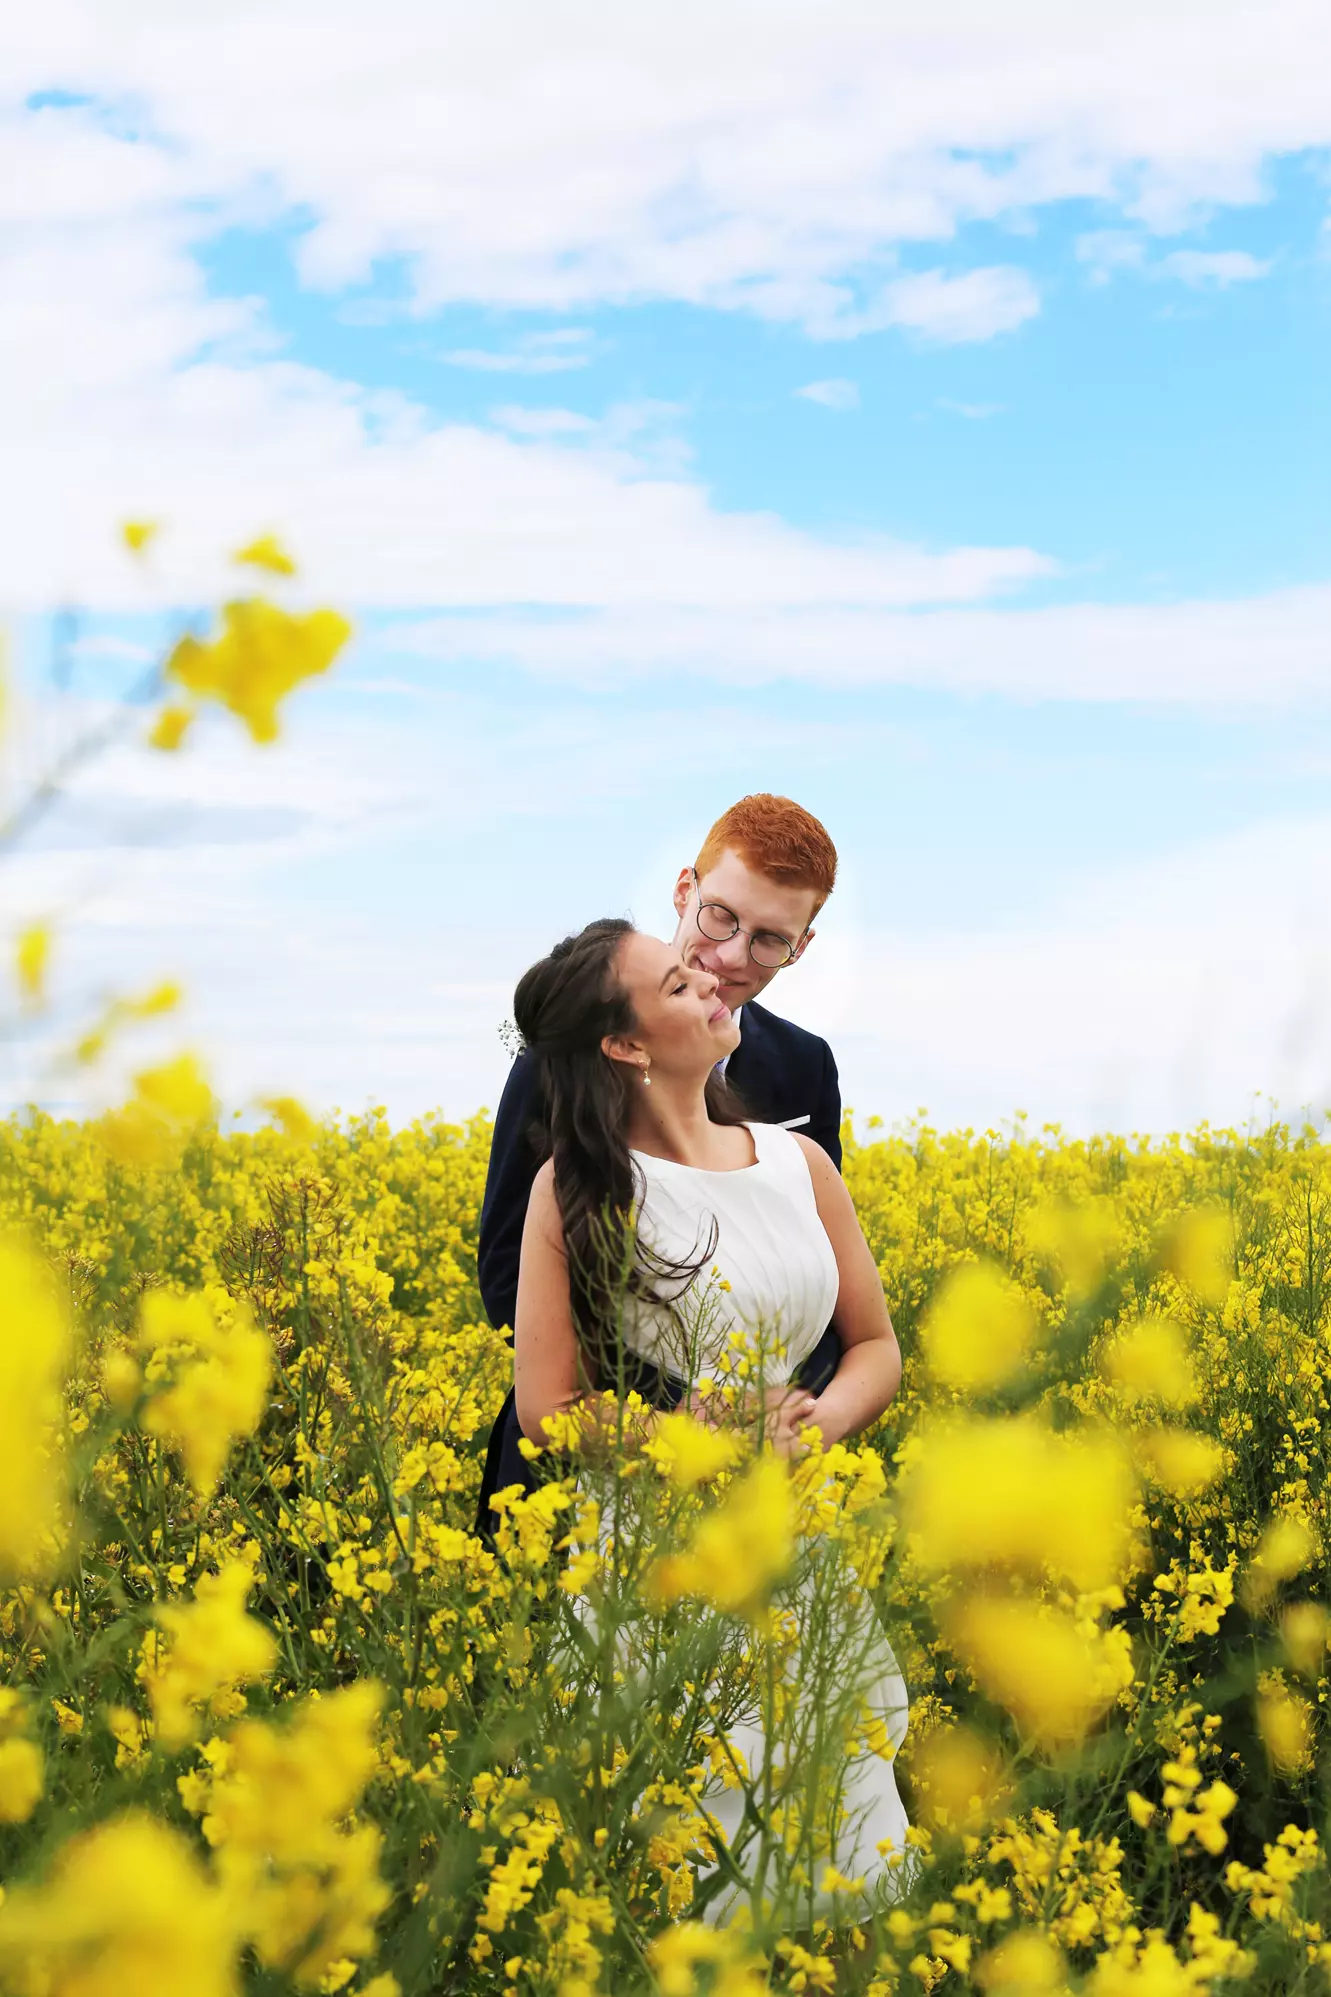
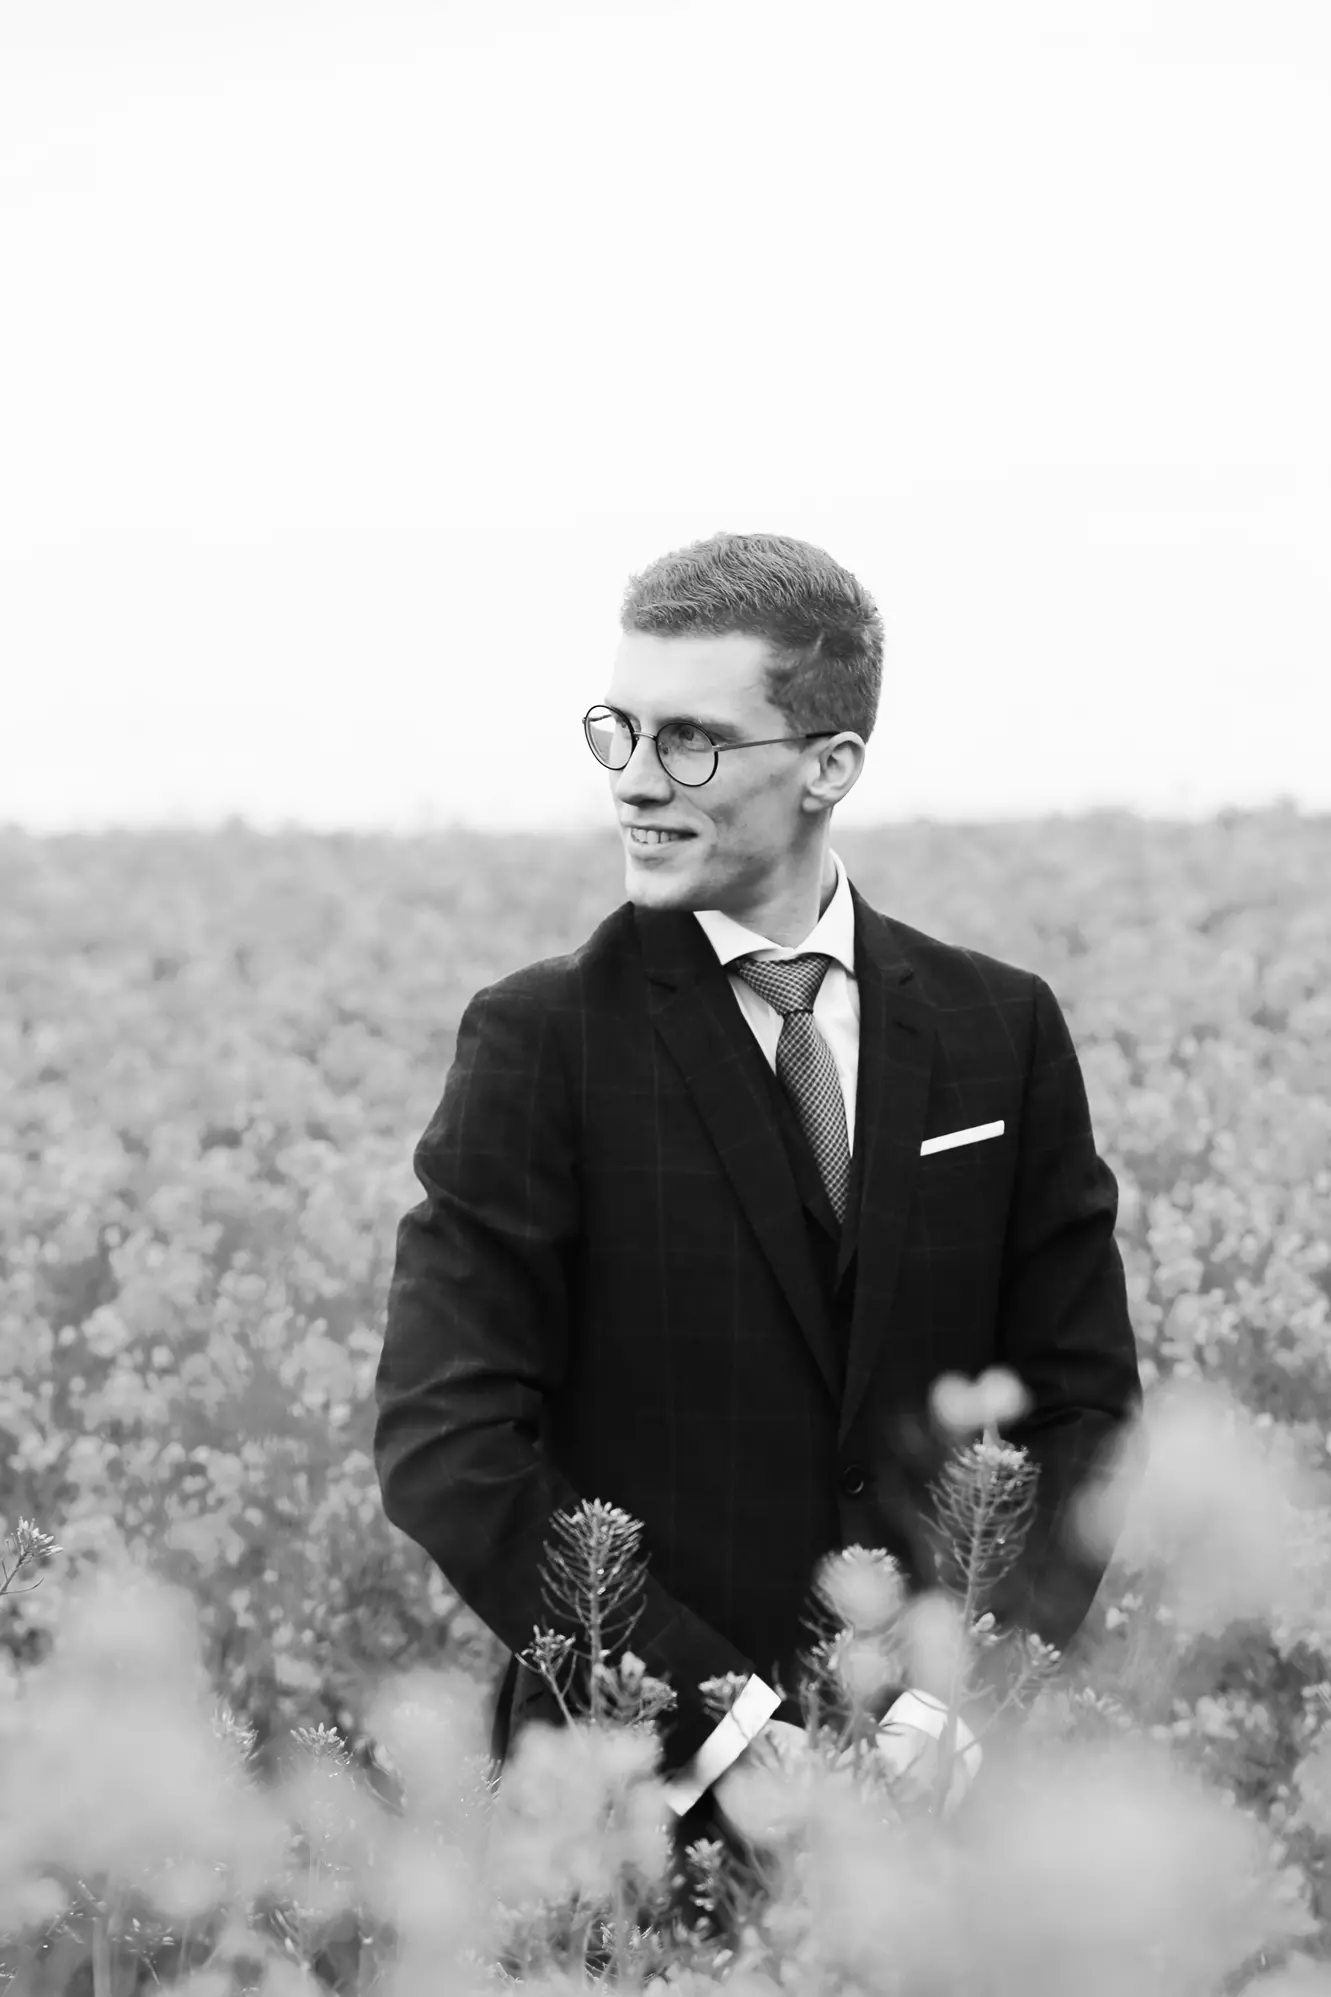
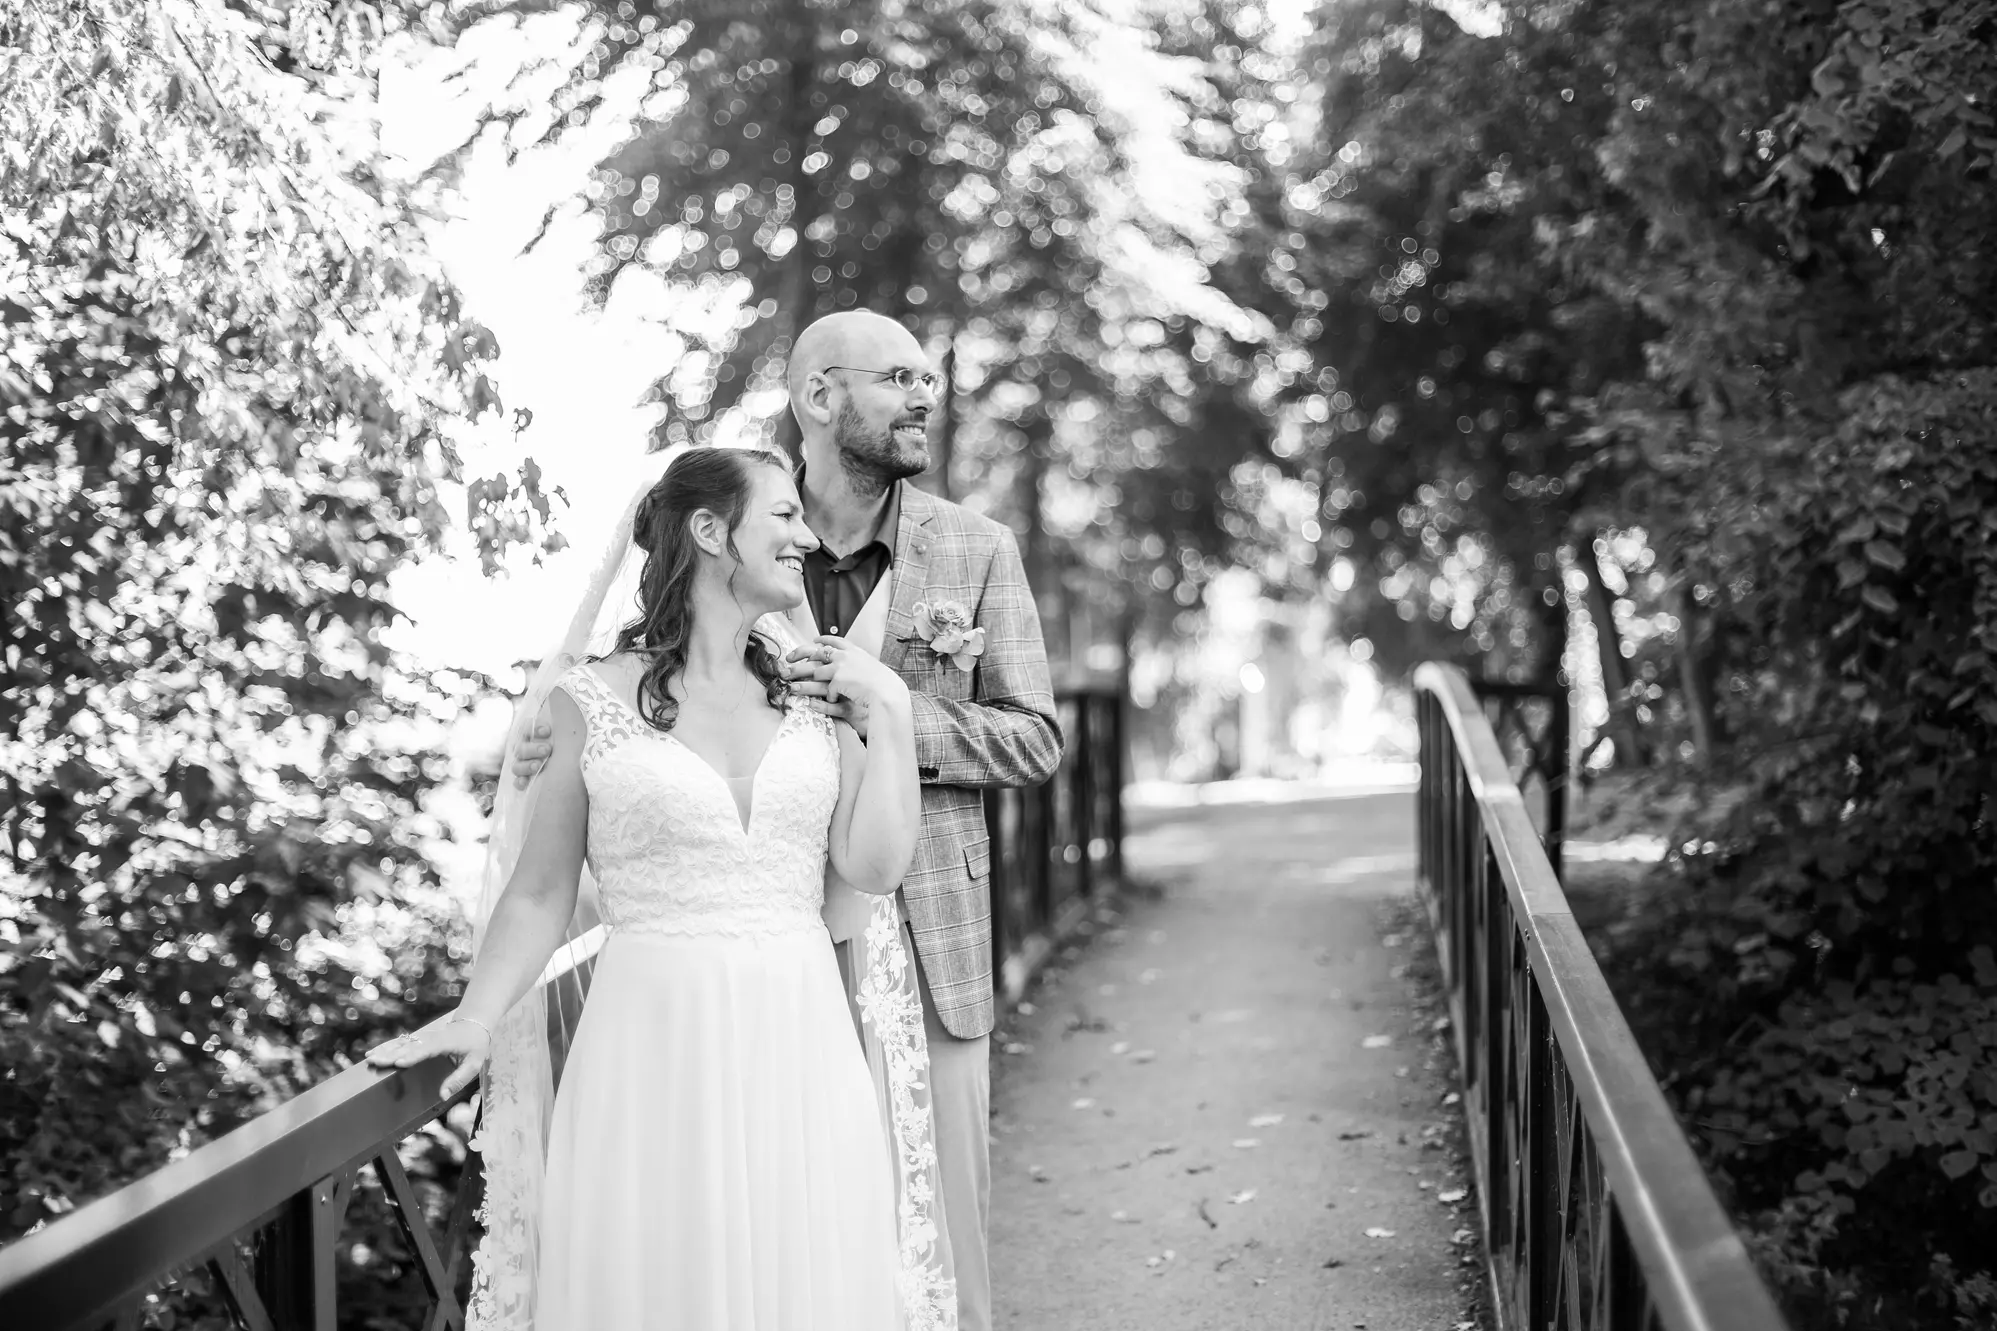
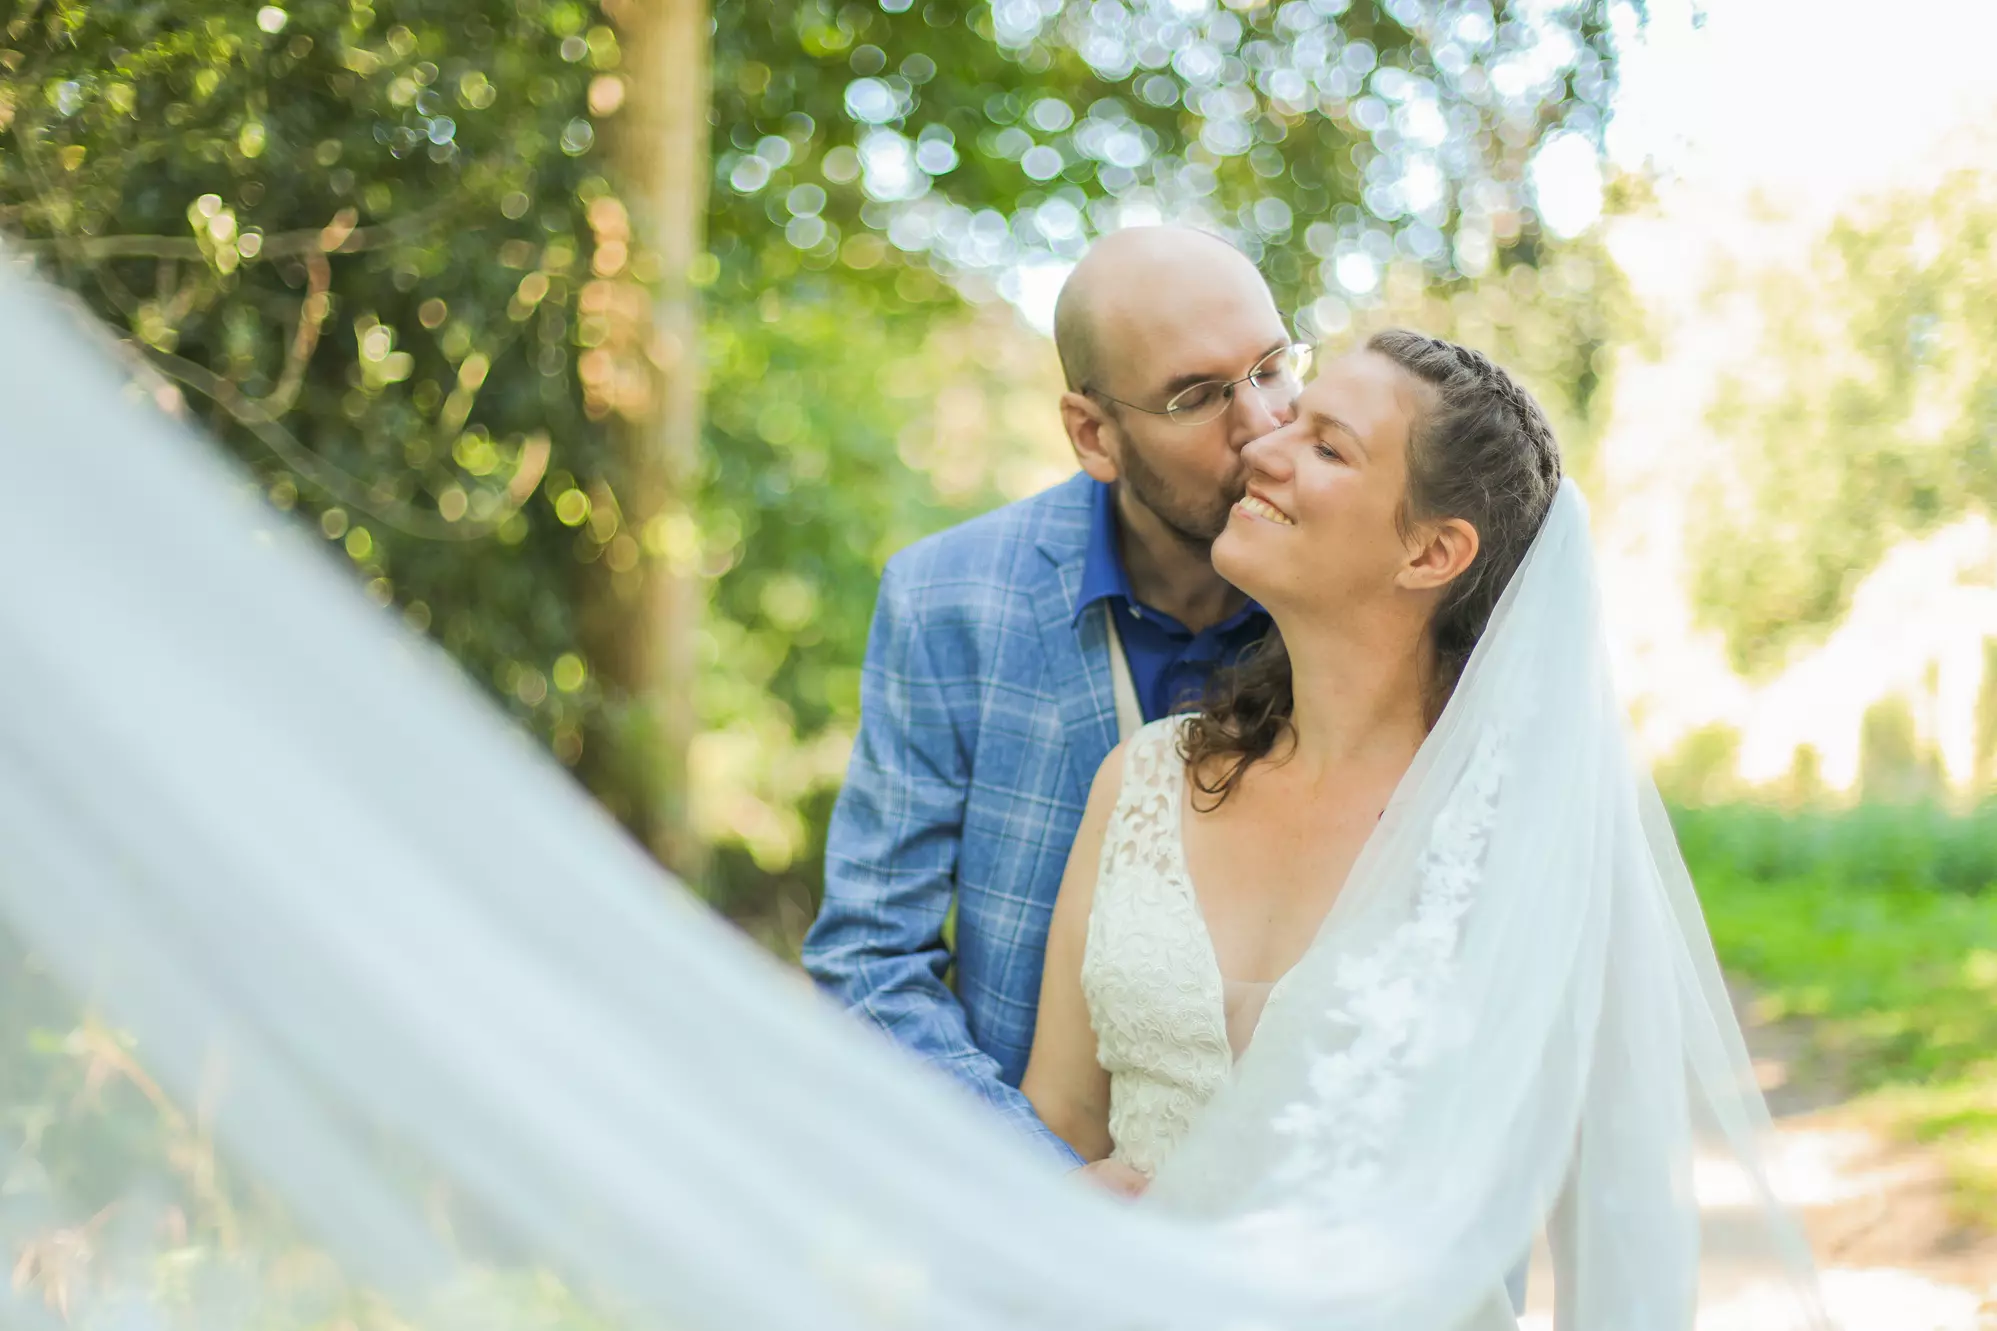
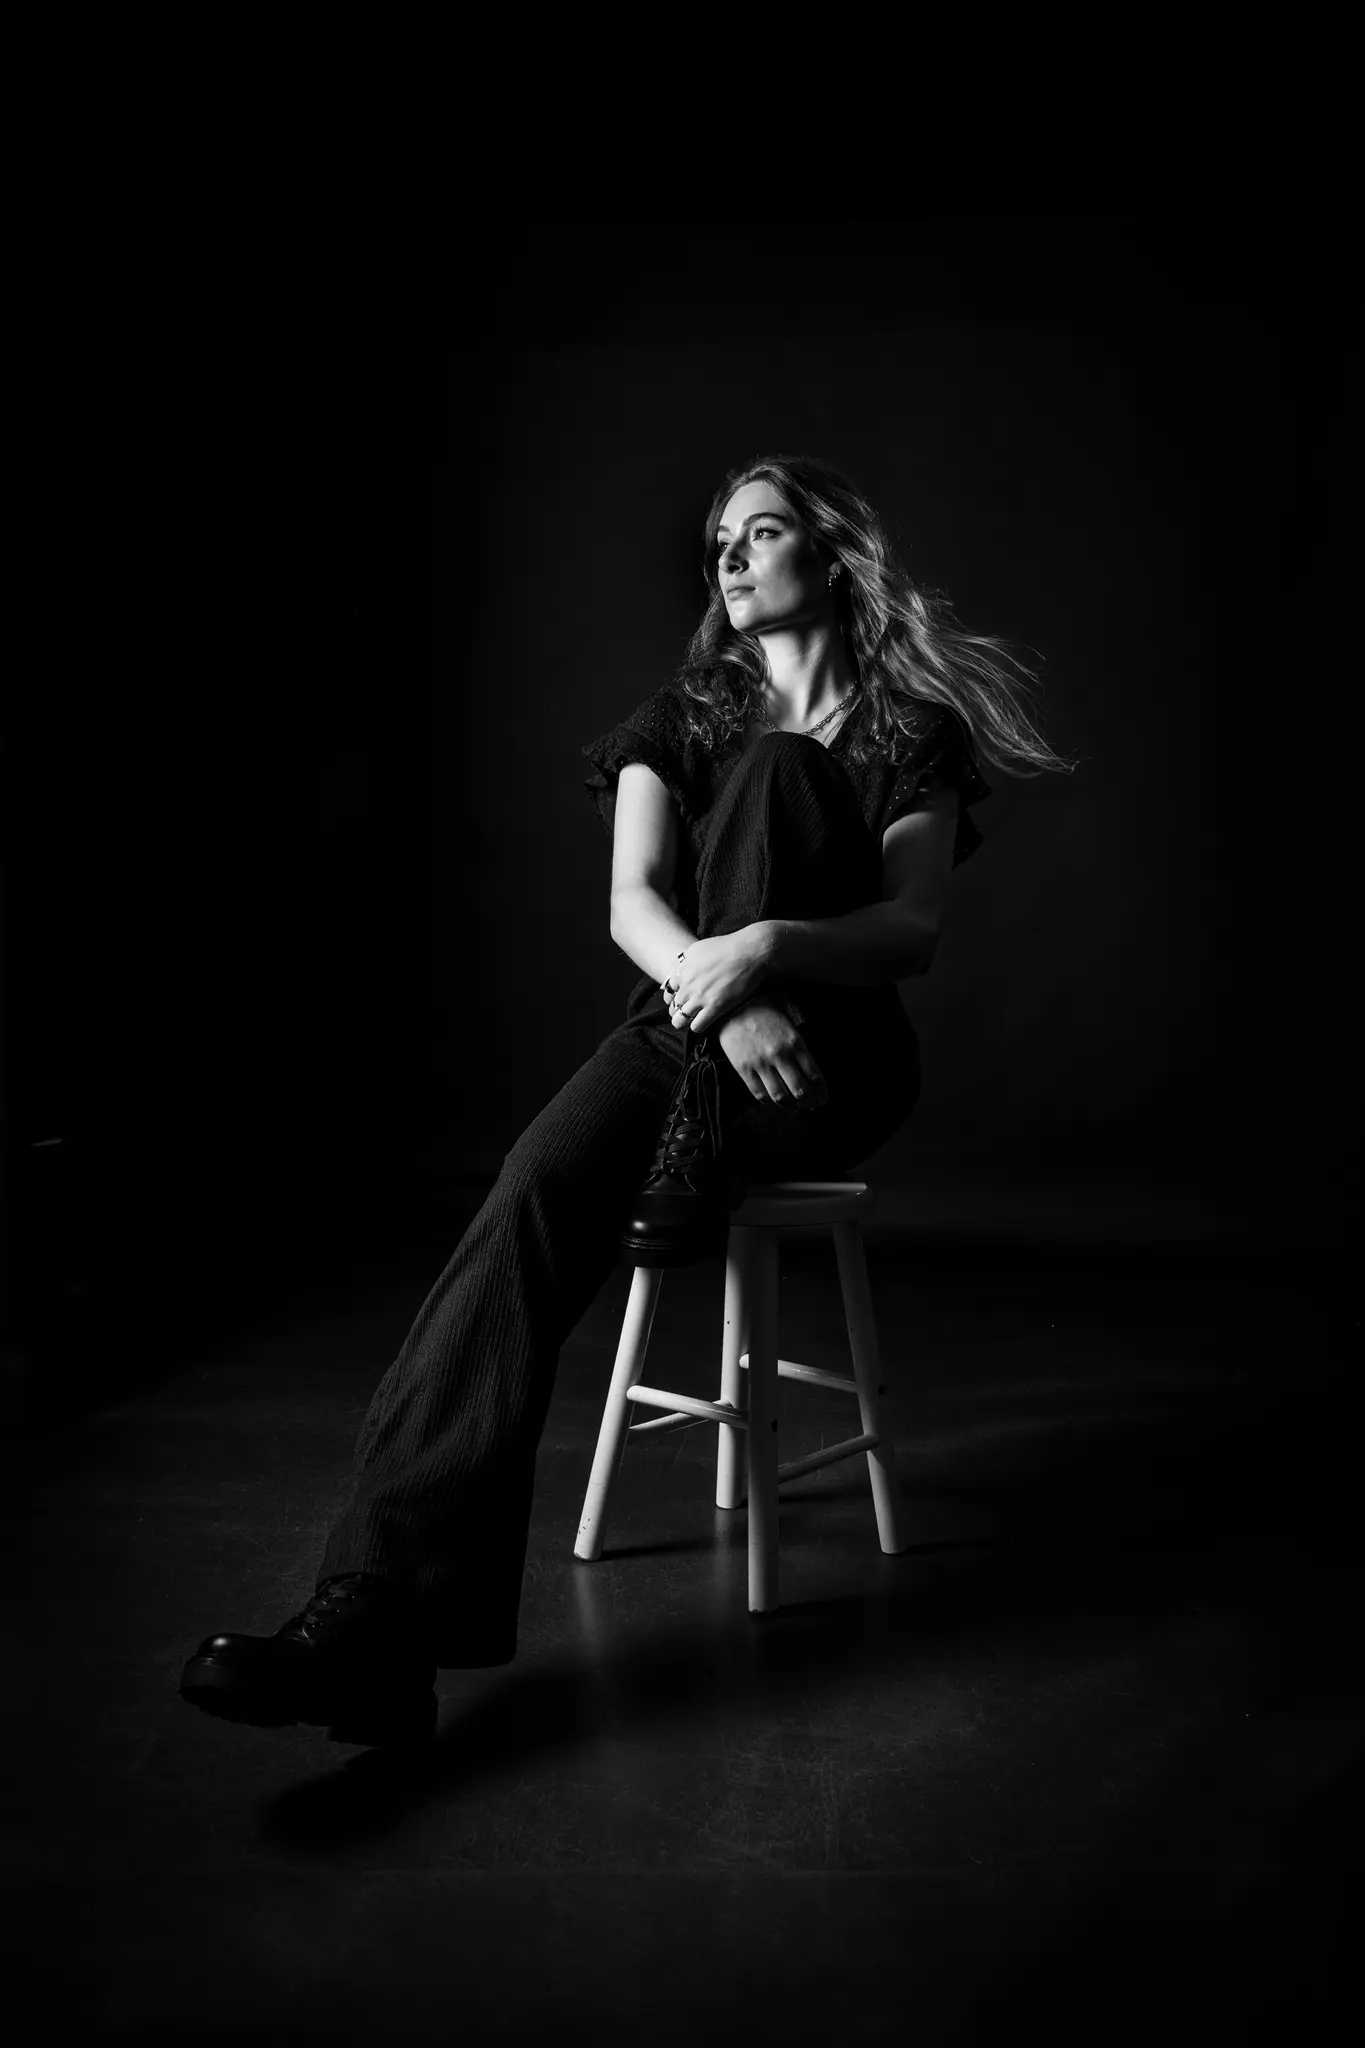
Phew what a relief… On the first day of Summer School we had to work on portrait photography.
That is something I have a lot of experience with. However, there were also enough challenges for
me that day. We were going to photograph in black and white. I often edit my photos in black and
white afterwards, but apparently every modern camera also has a standard black and white
mode. Guess I learned something new! And of course the world looks very different in black and
white. Fortunately I had friendly fellow students who were willing to model. During the Summer
School period I stayed in a hotel. So finding models wasn’t exactly easy…
Assignment: Black and white portrait
photography.
Shutter speed and aperture
The basics of photography: shutter speed and aperture. Together with ISO, perhaps the three
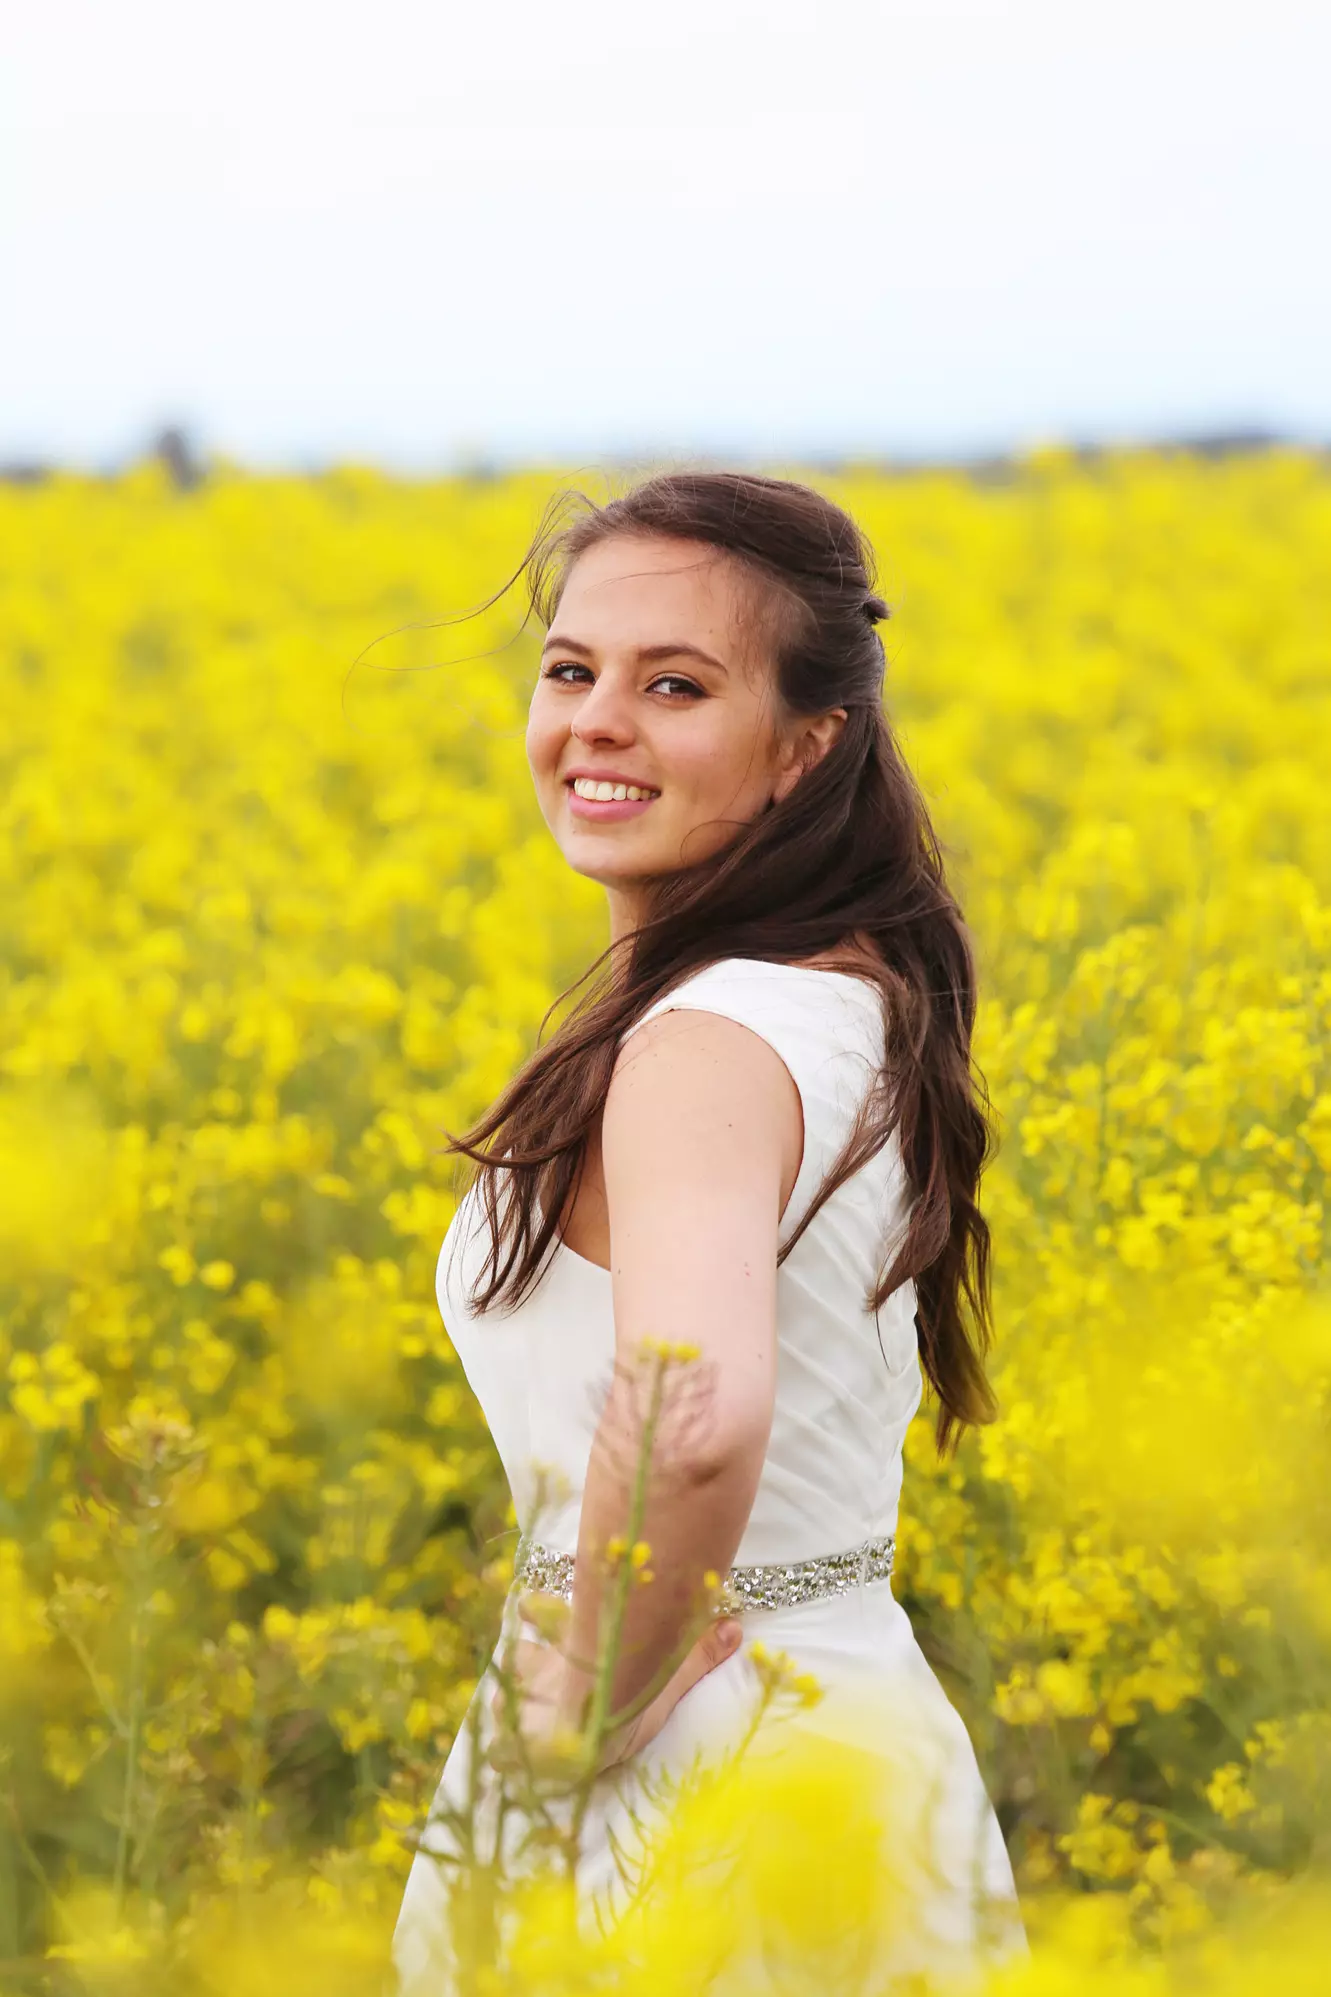
most important values in photography. When I was a student, I worked at MediaMarkt (a Dutch electronics store) in the camera department. I had to learn a lot about these subjects back then, in order to be able to advise the customers properly. Still, it was very nice to have a refresher. For the aperture assignment, the intention was to take a photo with an out-of-focus background. I had to make do in a hotel. Fortunately, the mini bar was well stocked and I could use two bottles of
wine as models. The shutter speed assignment had to do with water. So it was either the bath or the tap. With my motor skills, the camera would probably have fallen into the water. So the tap it was!

Assignment: Aperture (create blurred background).

Assignment: Shutter speed (freezing water).
Light sources
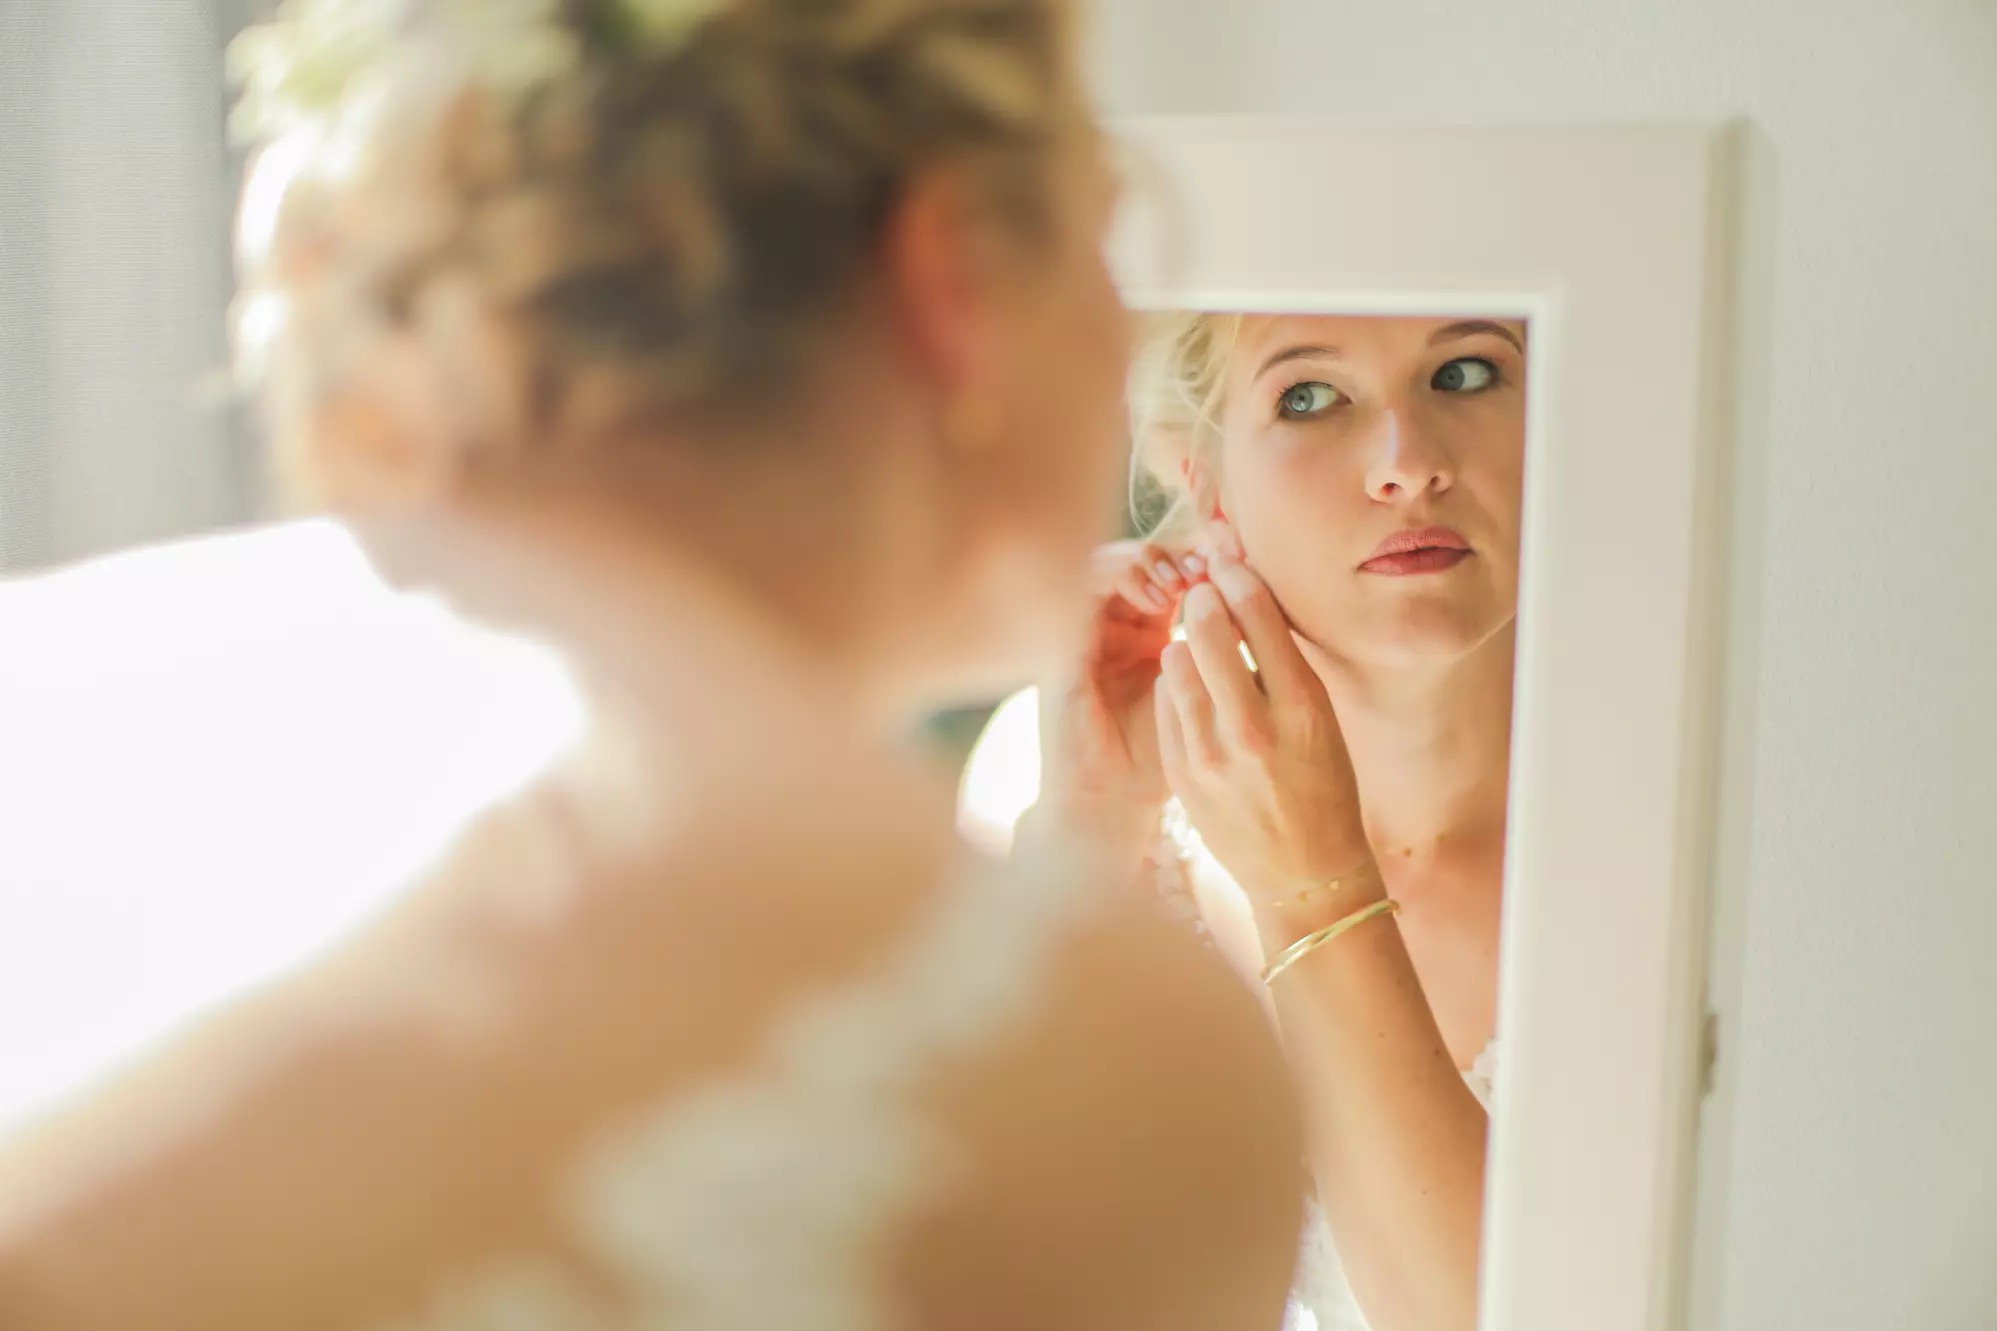
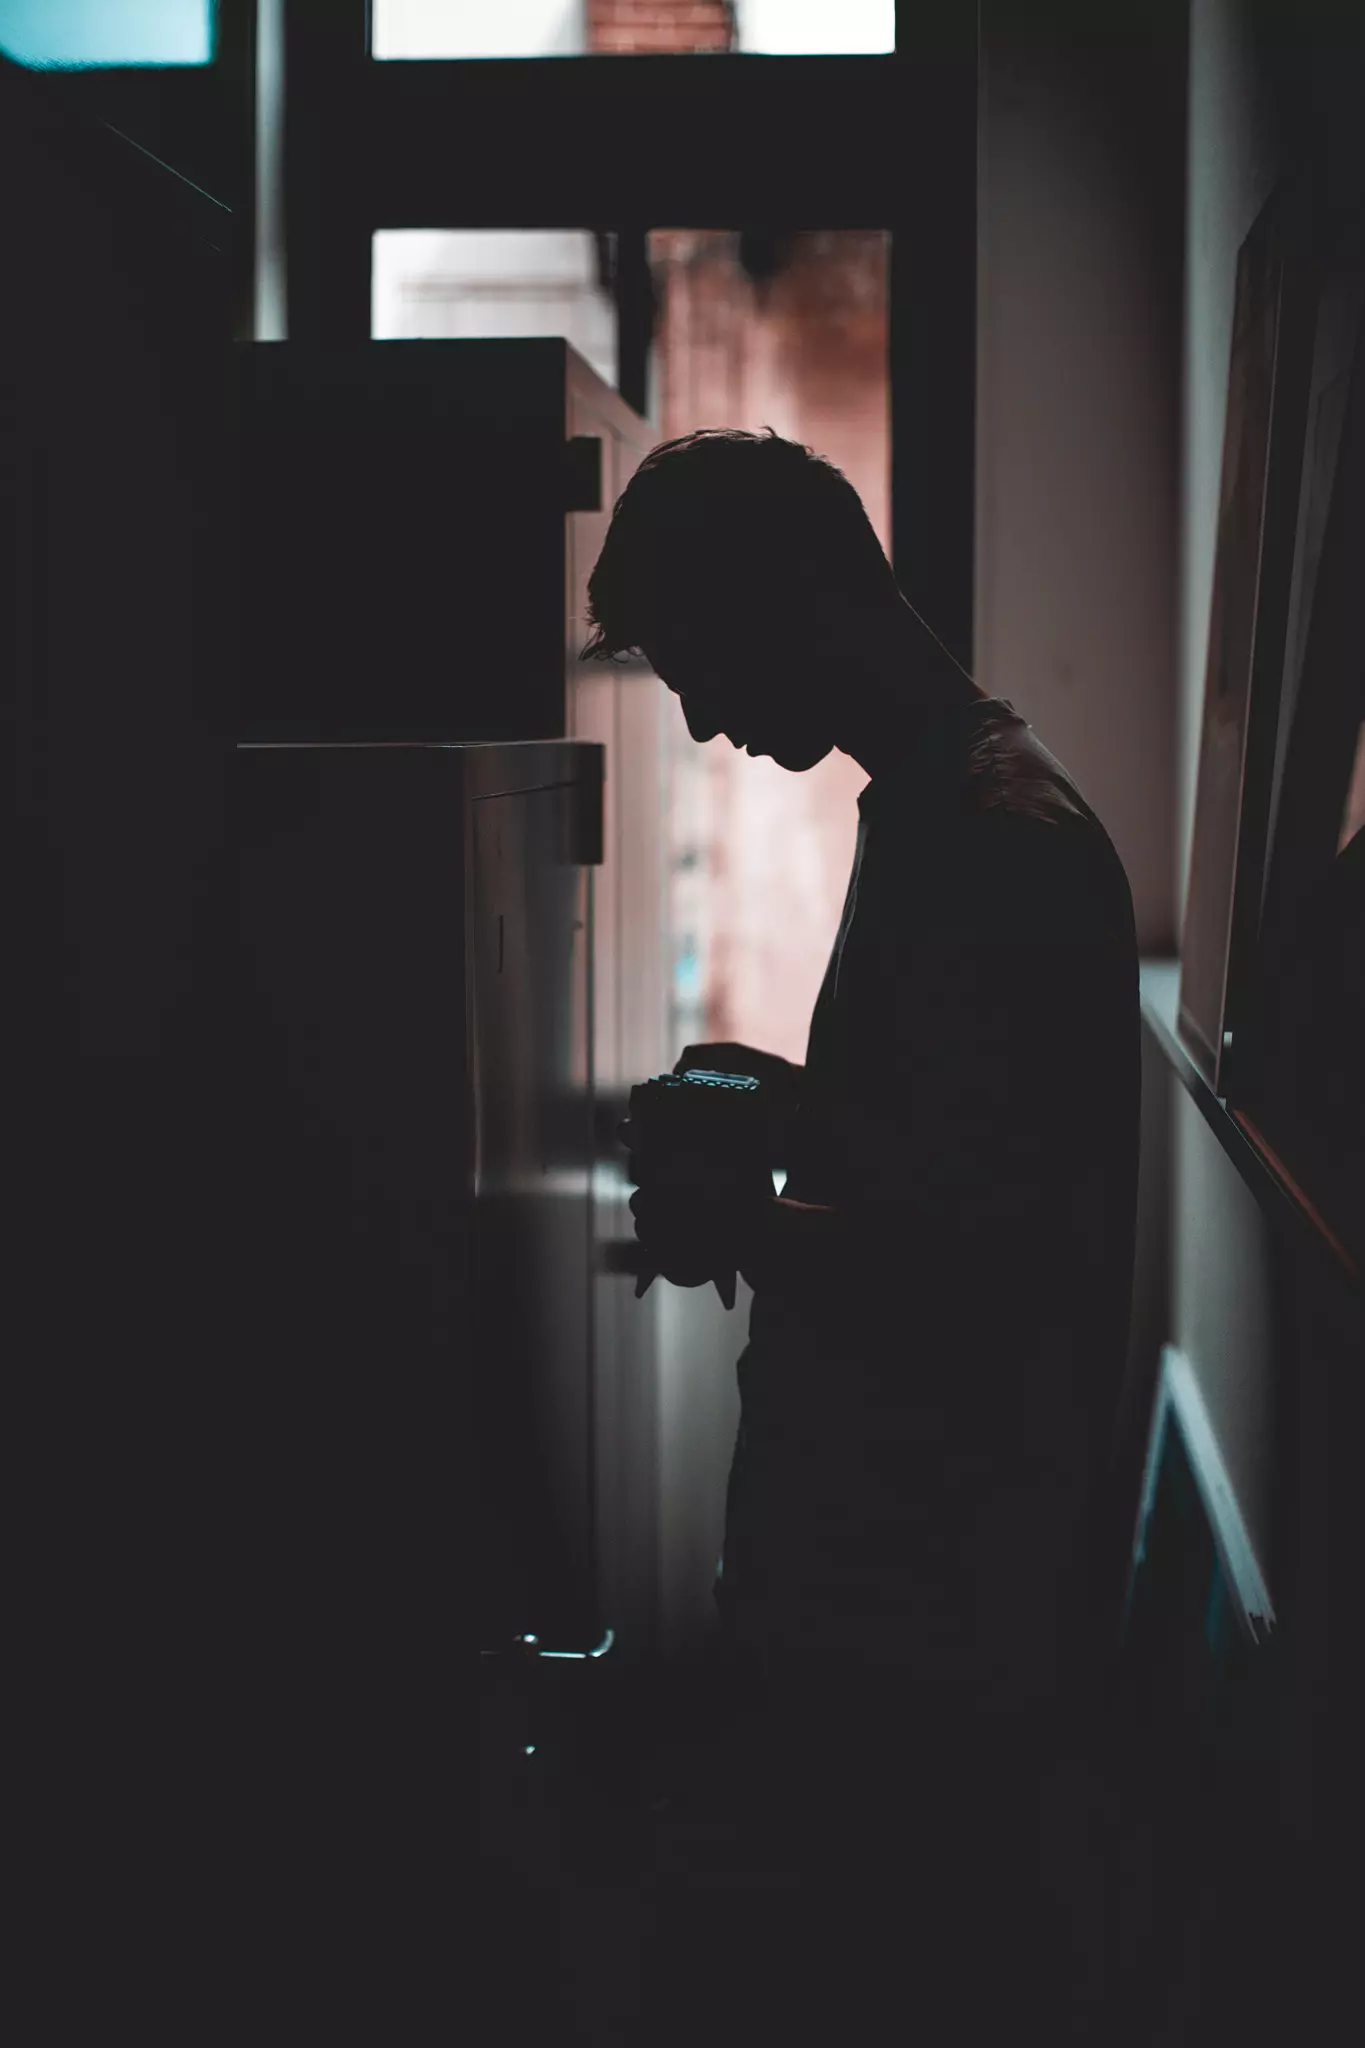
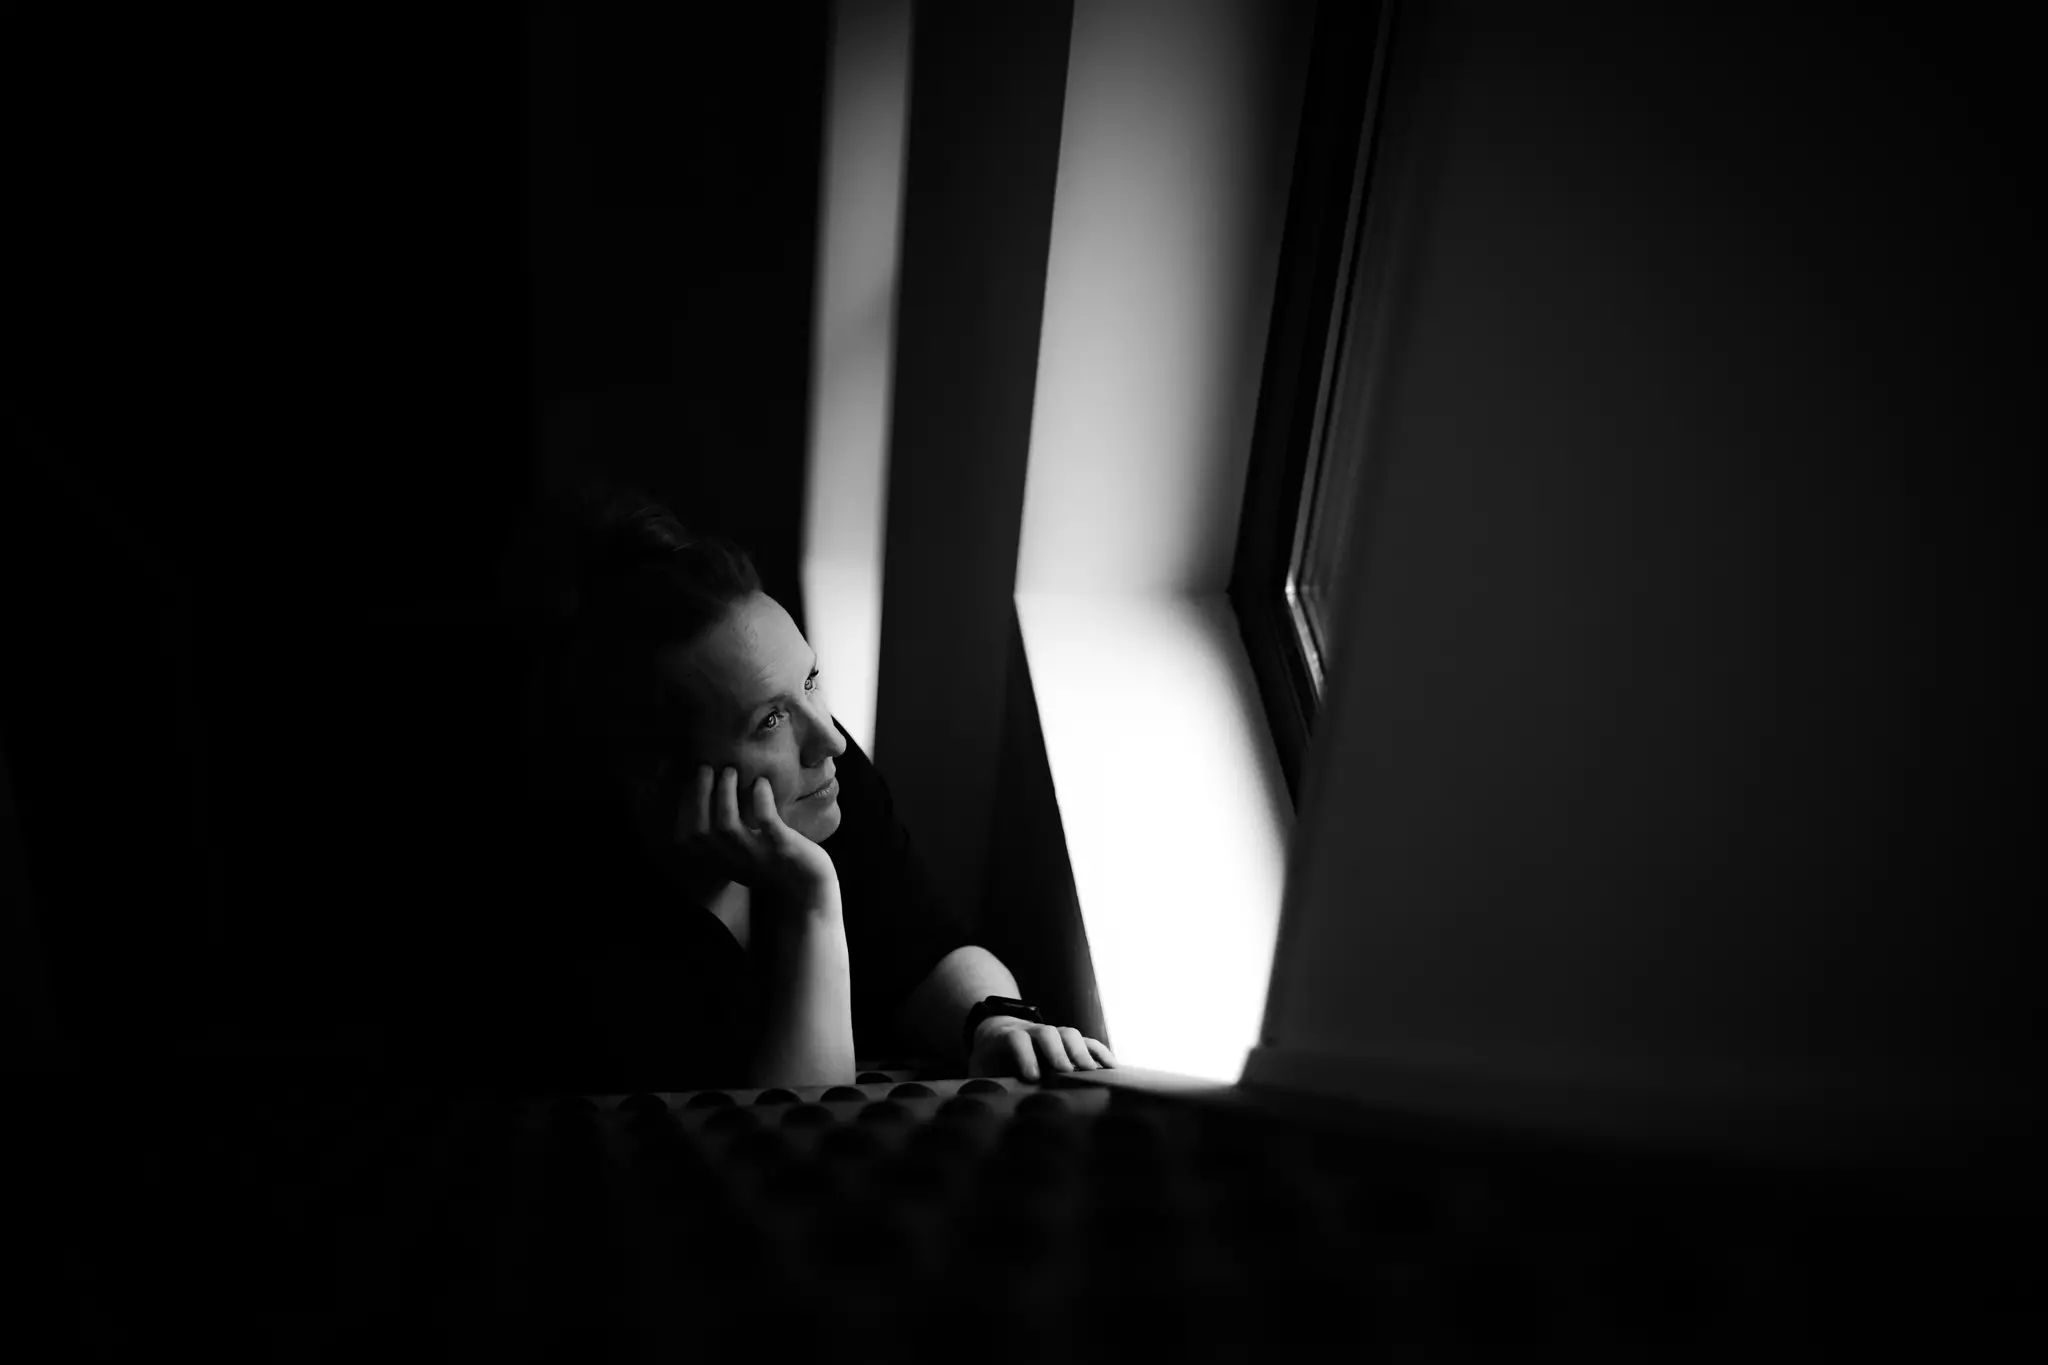
Playing with light is one of my favorite aspects of photography. But… as beautiful as playing with light can be, it is certainly intimidating. Backlight, grazing light, frontal light, the right light source makes or breaks a photo. So it’s a good technique to practice with! Together with fellow student Tigo I went out to play with different light sources. I took my favorite photo in an old parking garage under a fluorescent lamp. By setting my aperture high and the shutter speed fast I created a dark environment with one light source from above. I also took a photo with backlight and grazing light.
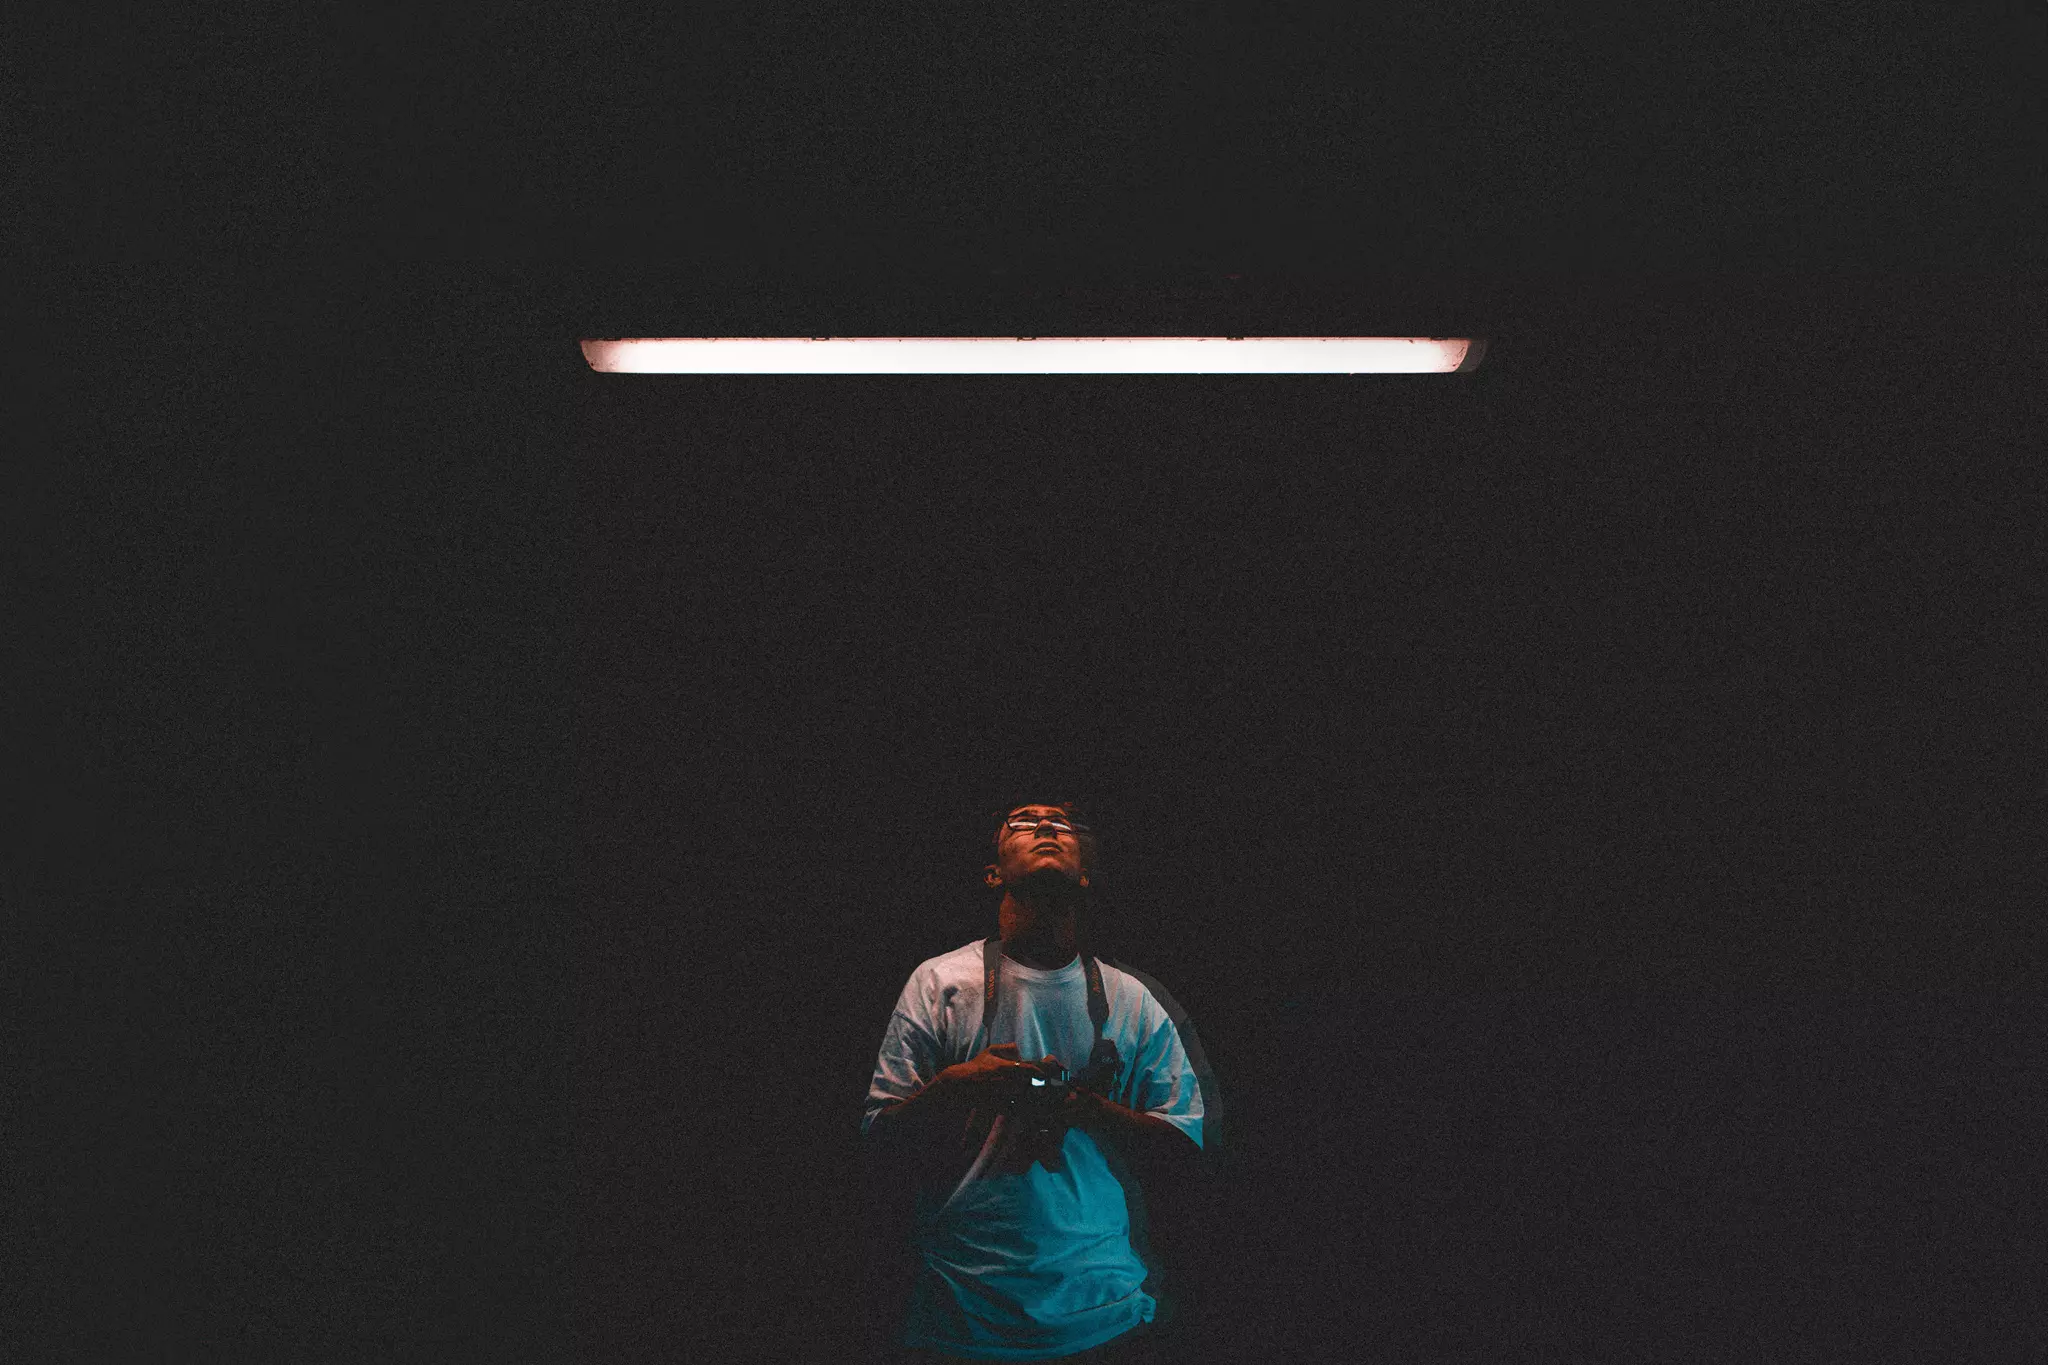
Assignment: Light sources. In the parking garage with a dark background. The light source at the top is a fluorescent lamp.
Assignment: Light sources (backlight).
Assignment: Light sources. Grazing light in a parking garage.
Shadows
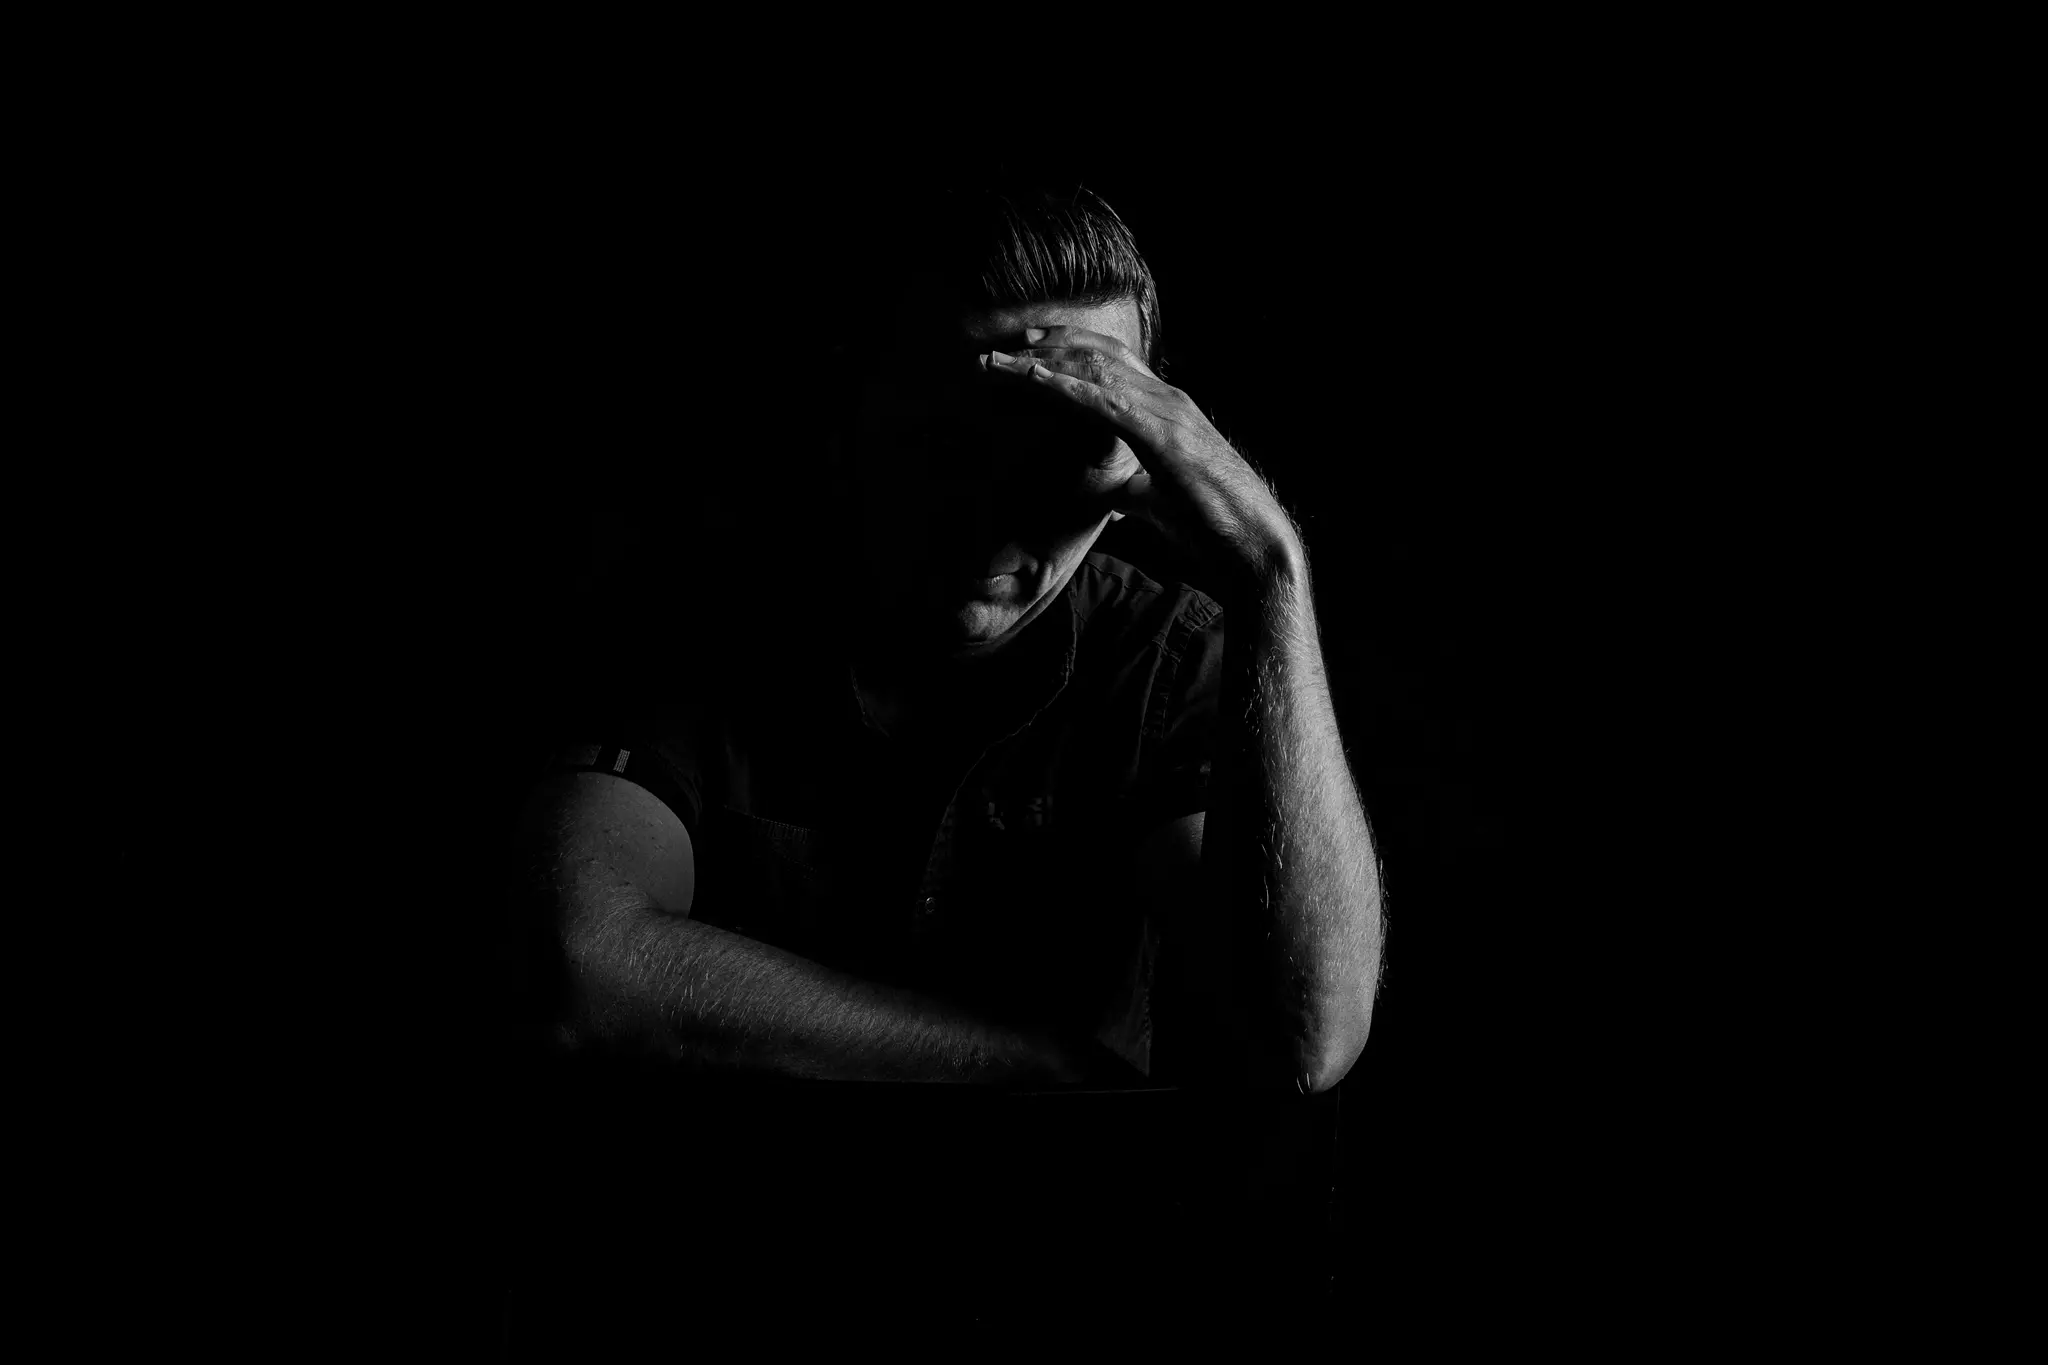
Where there is light… there are shadows. It was therefore logical to play with shadows in addition to light. One of the reasons why I started the Summer School was because I like to take original and creative photos. Playing with shadows is an important part of that. Without distracting too much attention from the model, I drew with shadows. And yes… I did choose people as models again. At the photography school, anything is allowed and possible. Yet I also noticed during the training that photographing people appeals to me the most. Just a nice confirmation that portrait
photography was the best choice for me.
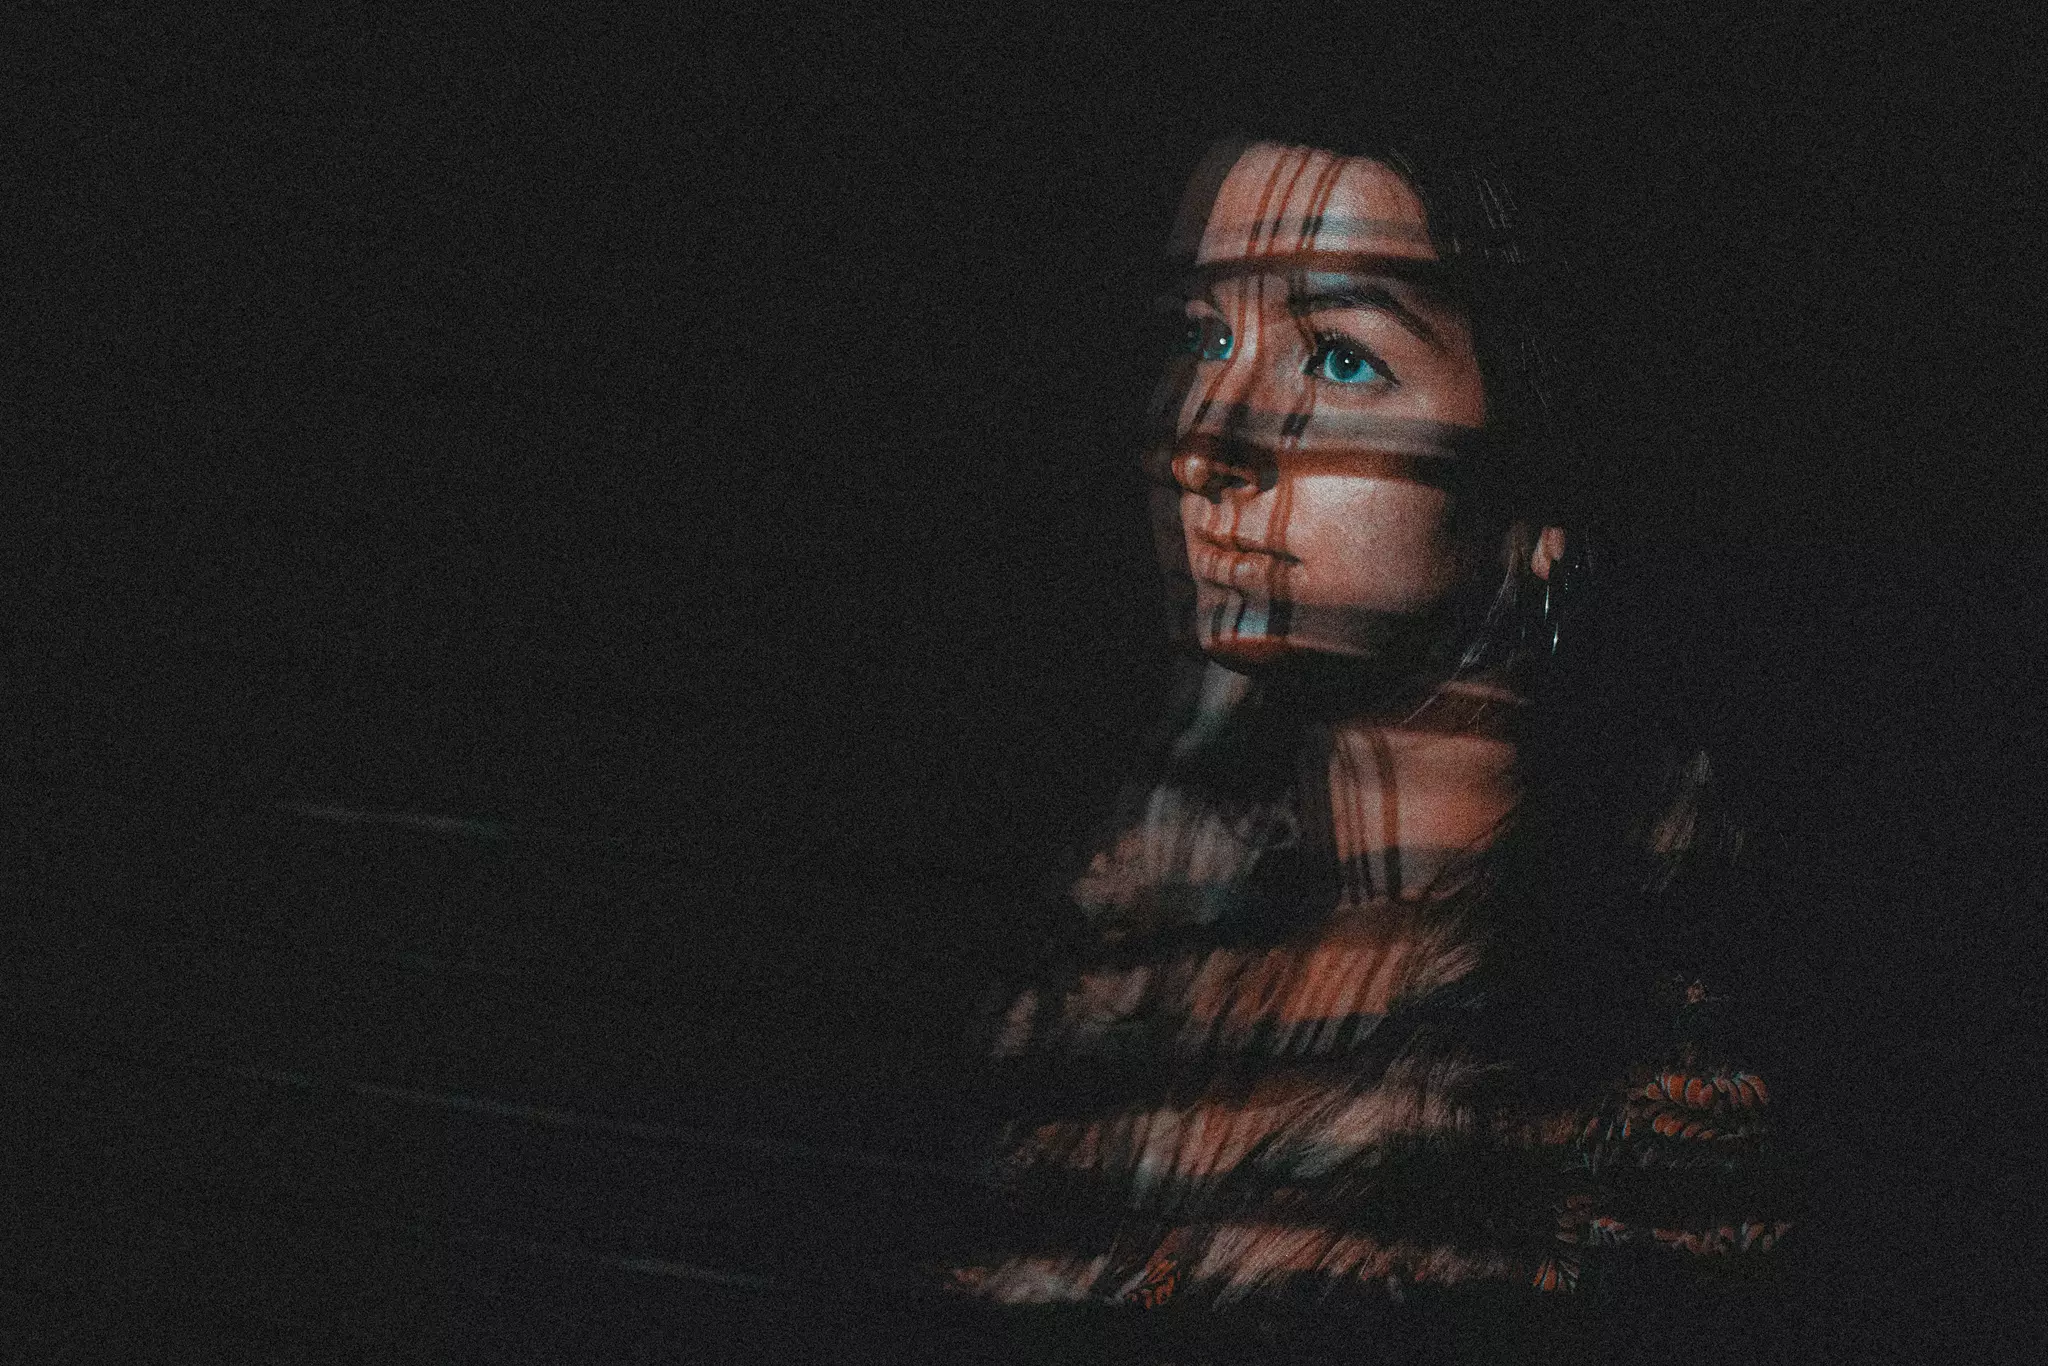
Assignment: Shadow. The shadows in this photo are from Venetian blinds.
Long shutter speed
Drawing with light: it is possible! If you create a dark space and set a long shutter speed, you can take beautiful photos using artificial light. I used to do that on New Year's Eve by drawing with sparkling stars. But I took those skills to a higher level during the Summer School. The images below are not photoshopped. So how could I have taken these photos? You take one model Tigo (yes, the one from the light sources), an assistant: Hanne and a lighter. While Tigo poses like a statue, I take the photo, in which the camera is on the BULB setting. Hanne uses artificial flash and then she runs a lighter along Tigo's fingers. How cool is that! No photoshop, just light!
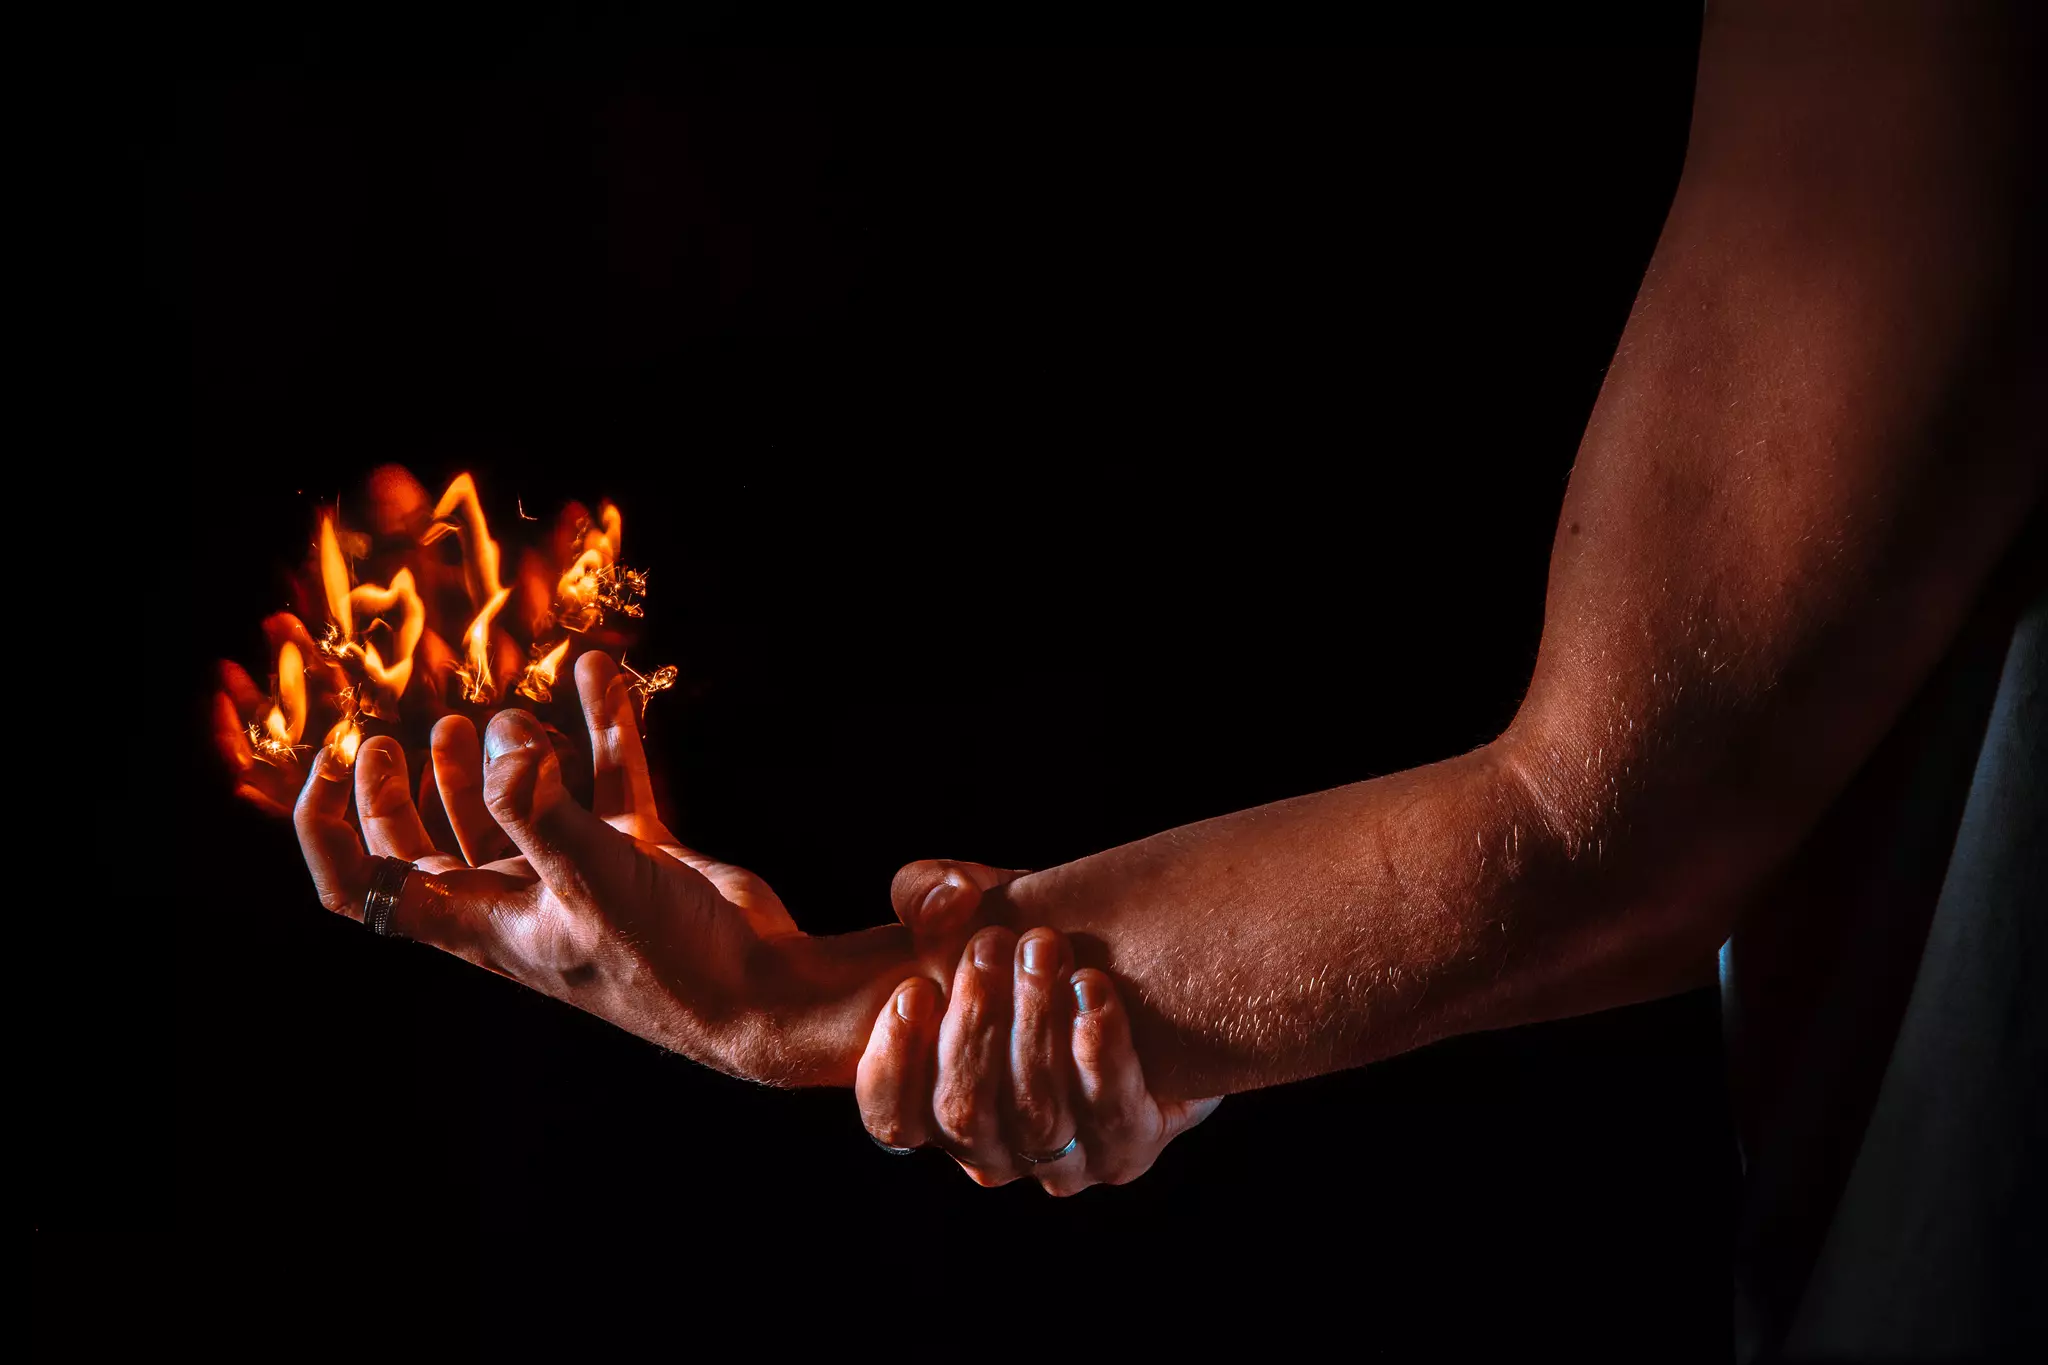
Assignment: Long shutter speed. Playing with fire has never been so much fun!
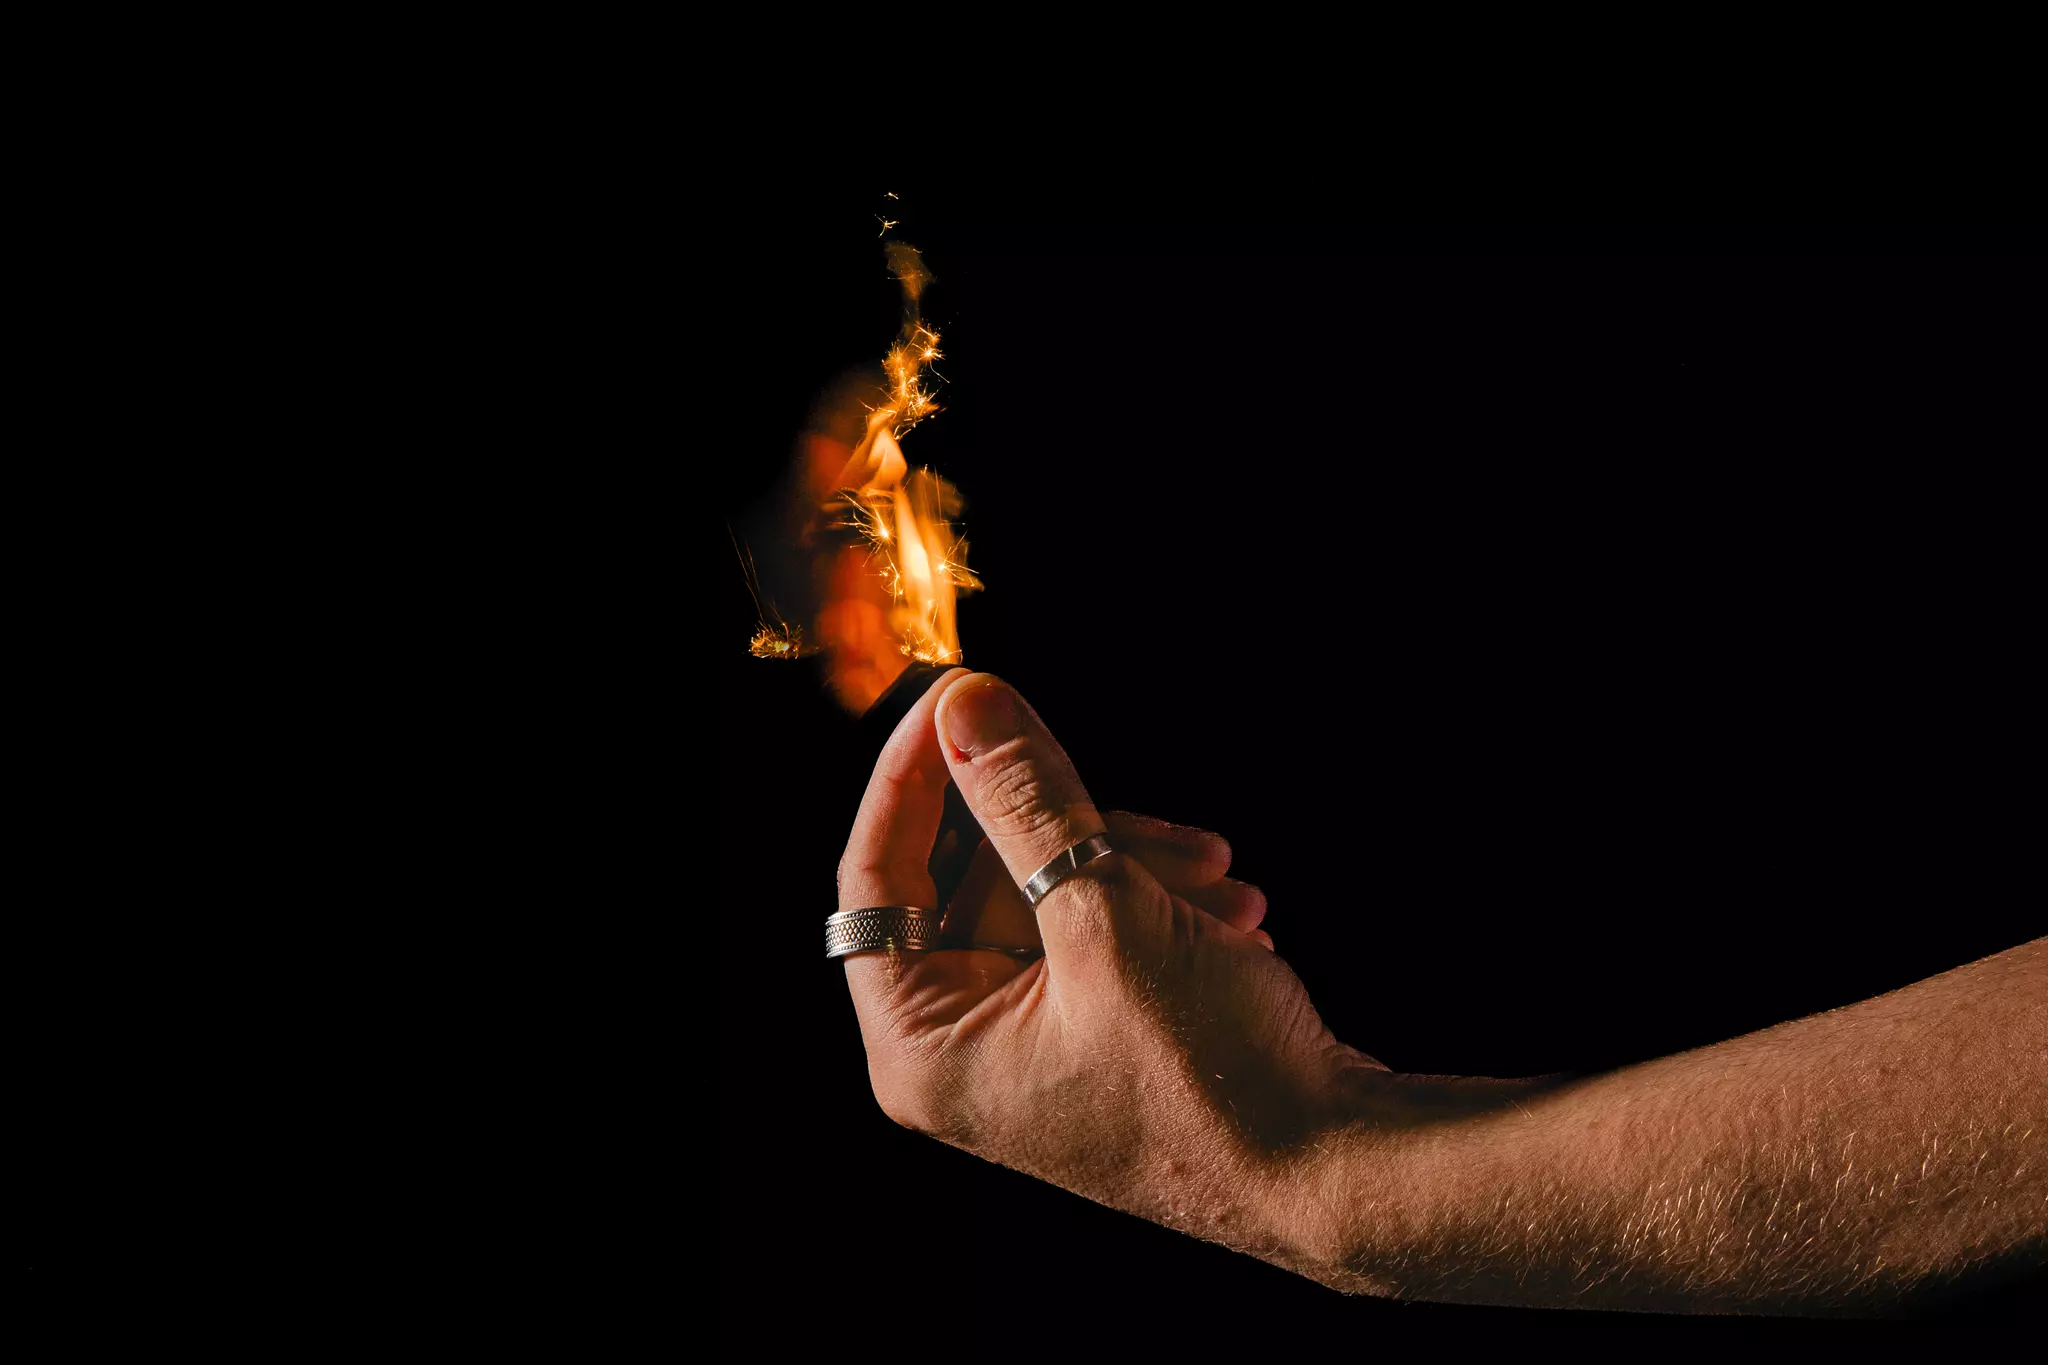
Assignment: Long shutter speed. No Photoshop involved.
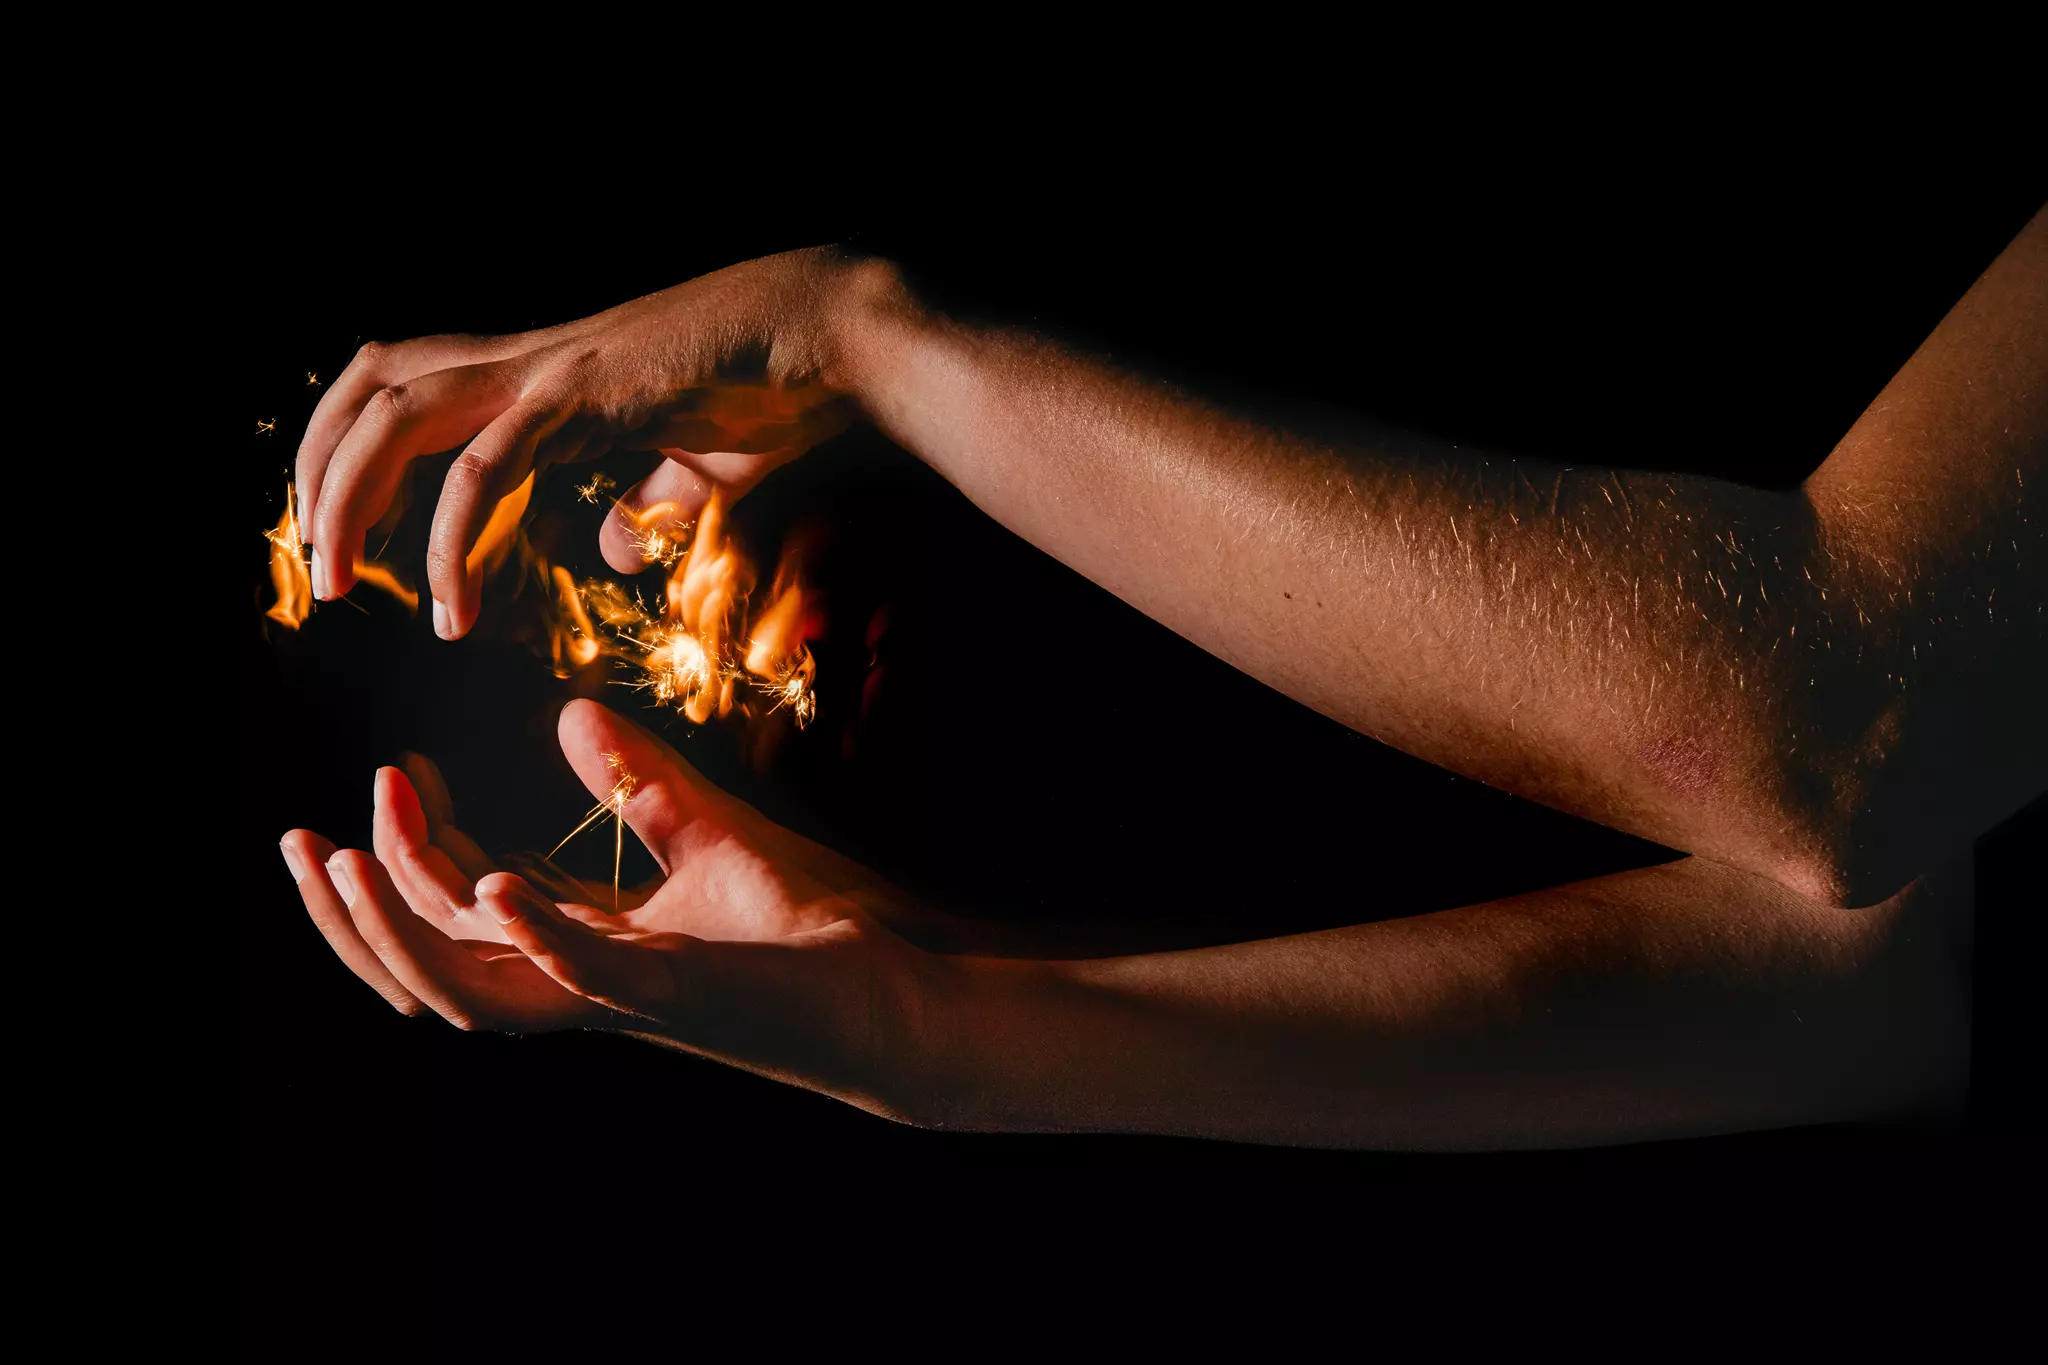
Assignment: Long exposure. Do you also get Avatar vibes from this?
Composition
A good composition is perhaps one of the most important aspects of (portrait) photography. After
extensive explanations about different compositions, it was time to go. I don't play with
composition often enough during my work as a photographer. That's because I have a fixed
composition that works for me and that I don't often deviate from. So it's extra fun to throw this
out the window and play with different compositions.
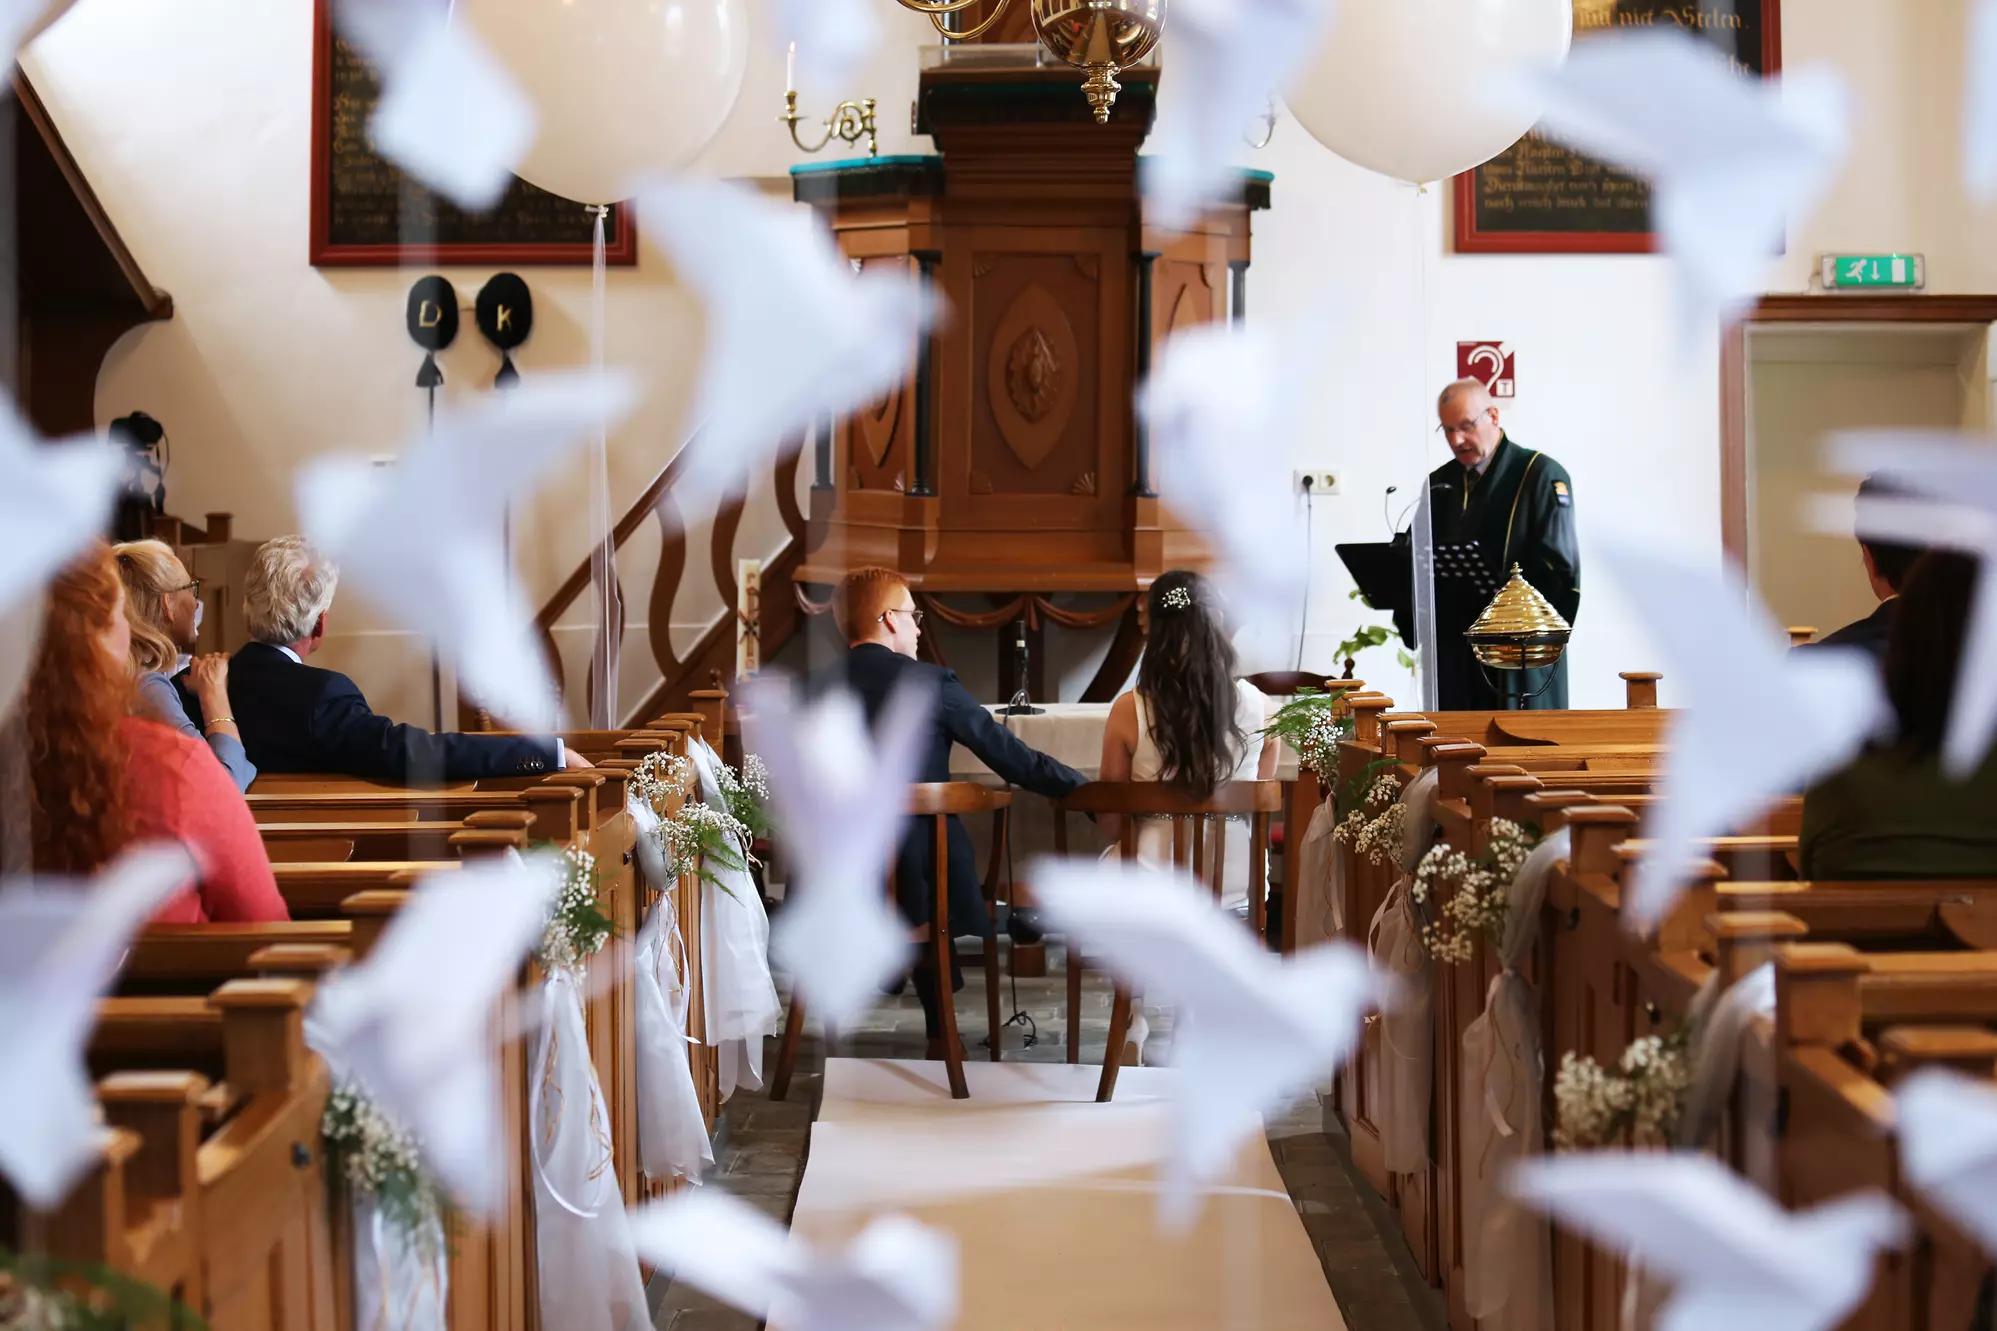
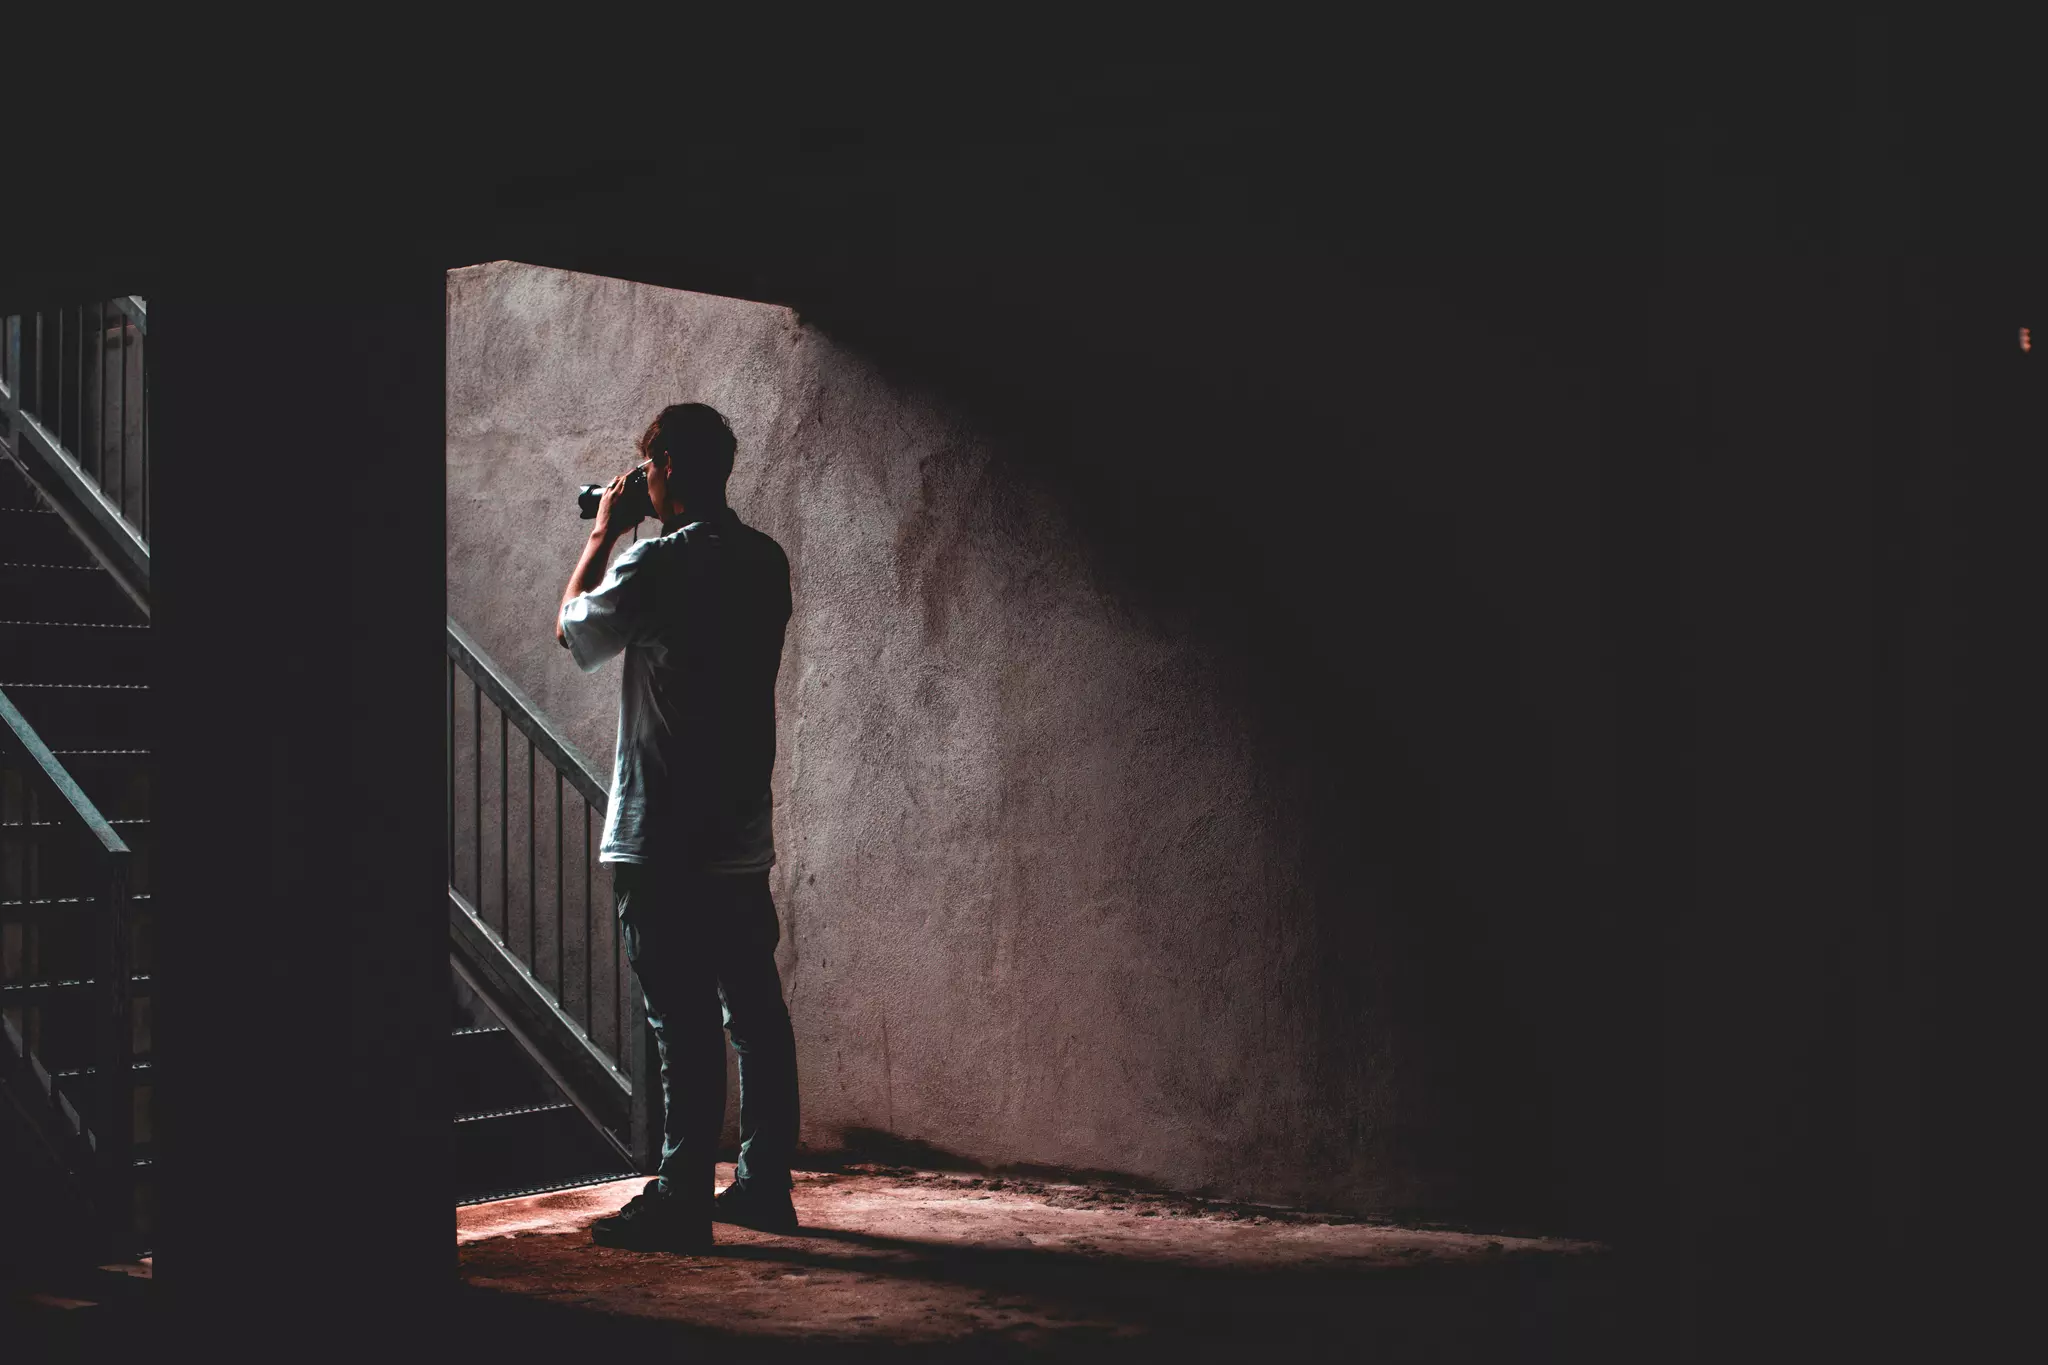
Assignment: Composition. A mini window, an emergency exit and a model. The perfect ingredients to practice composition with.
Studio photography
I (almost) always photograph on location. I did have a studio in the past, but I mainly worked with continuous light. Working with flashes was therefore a subject I could still learn a lot about.
Together with my fellow students I went into the studio spaces to practice with different flash techniques. How do you properly light your subject? What do you light/not light? When is the light flattering or too harsh? These are all considerations you have to consider when you photograph with artificial light. In the end, this was the subject I learned the most from. And that comes in handy since I am currently looking for a studio space!
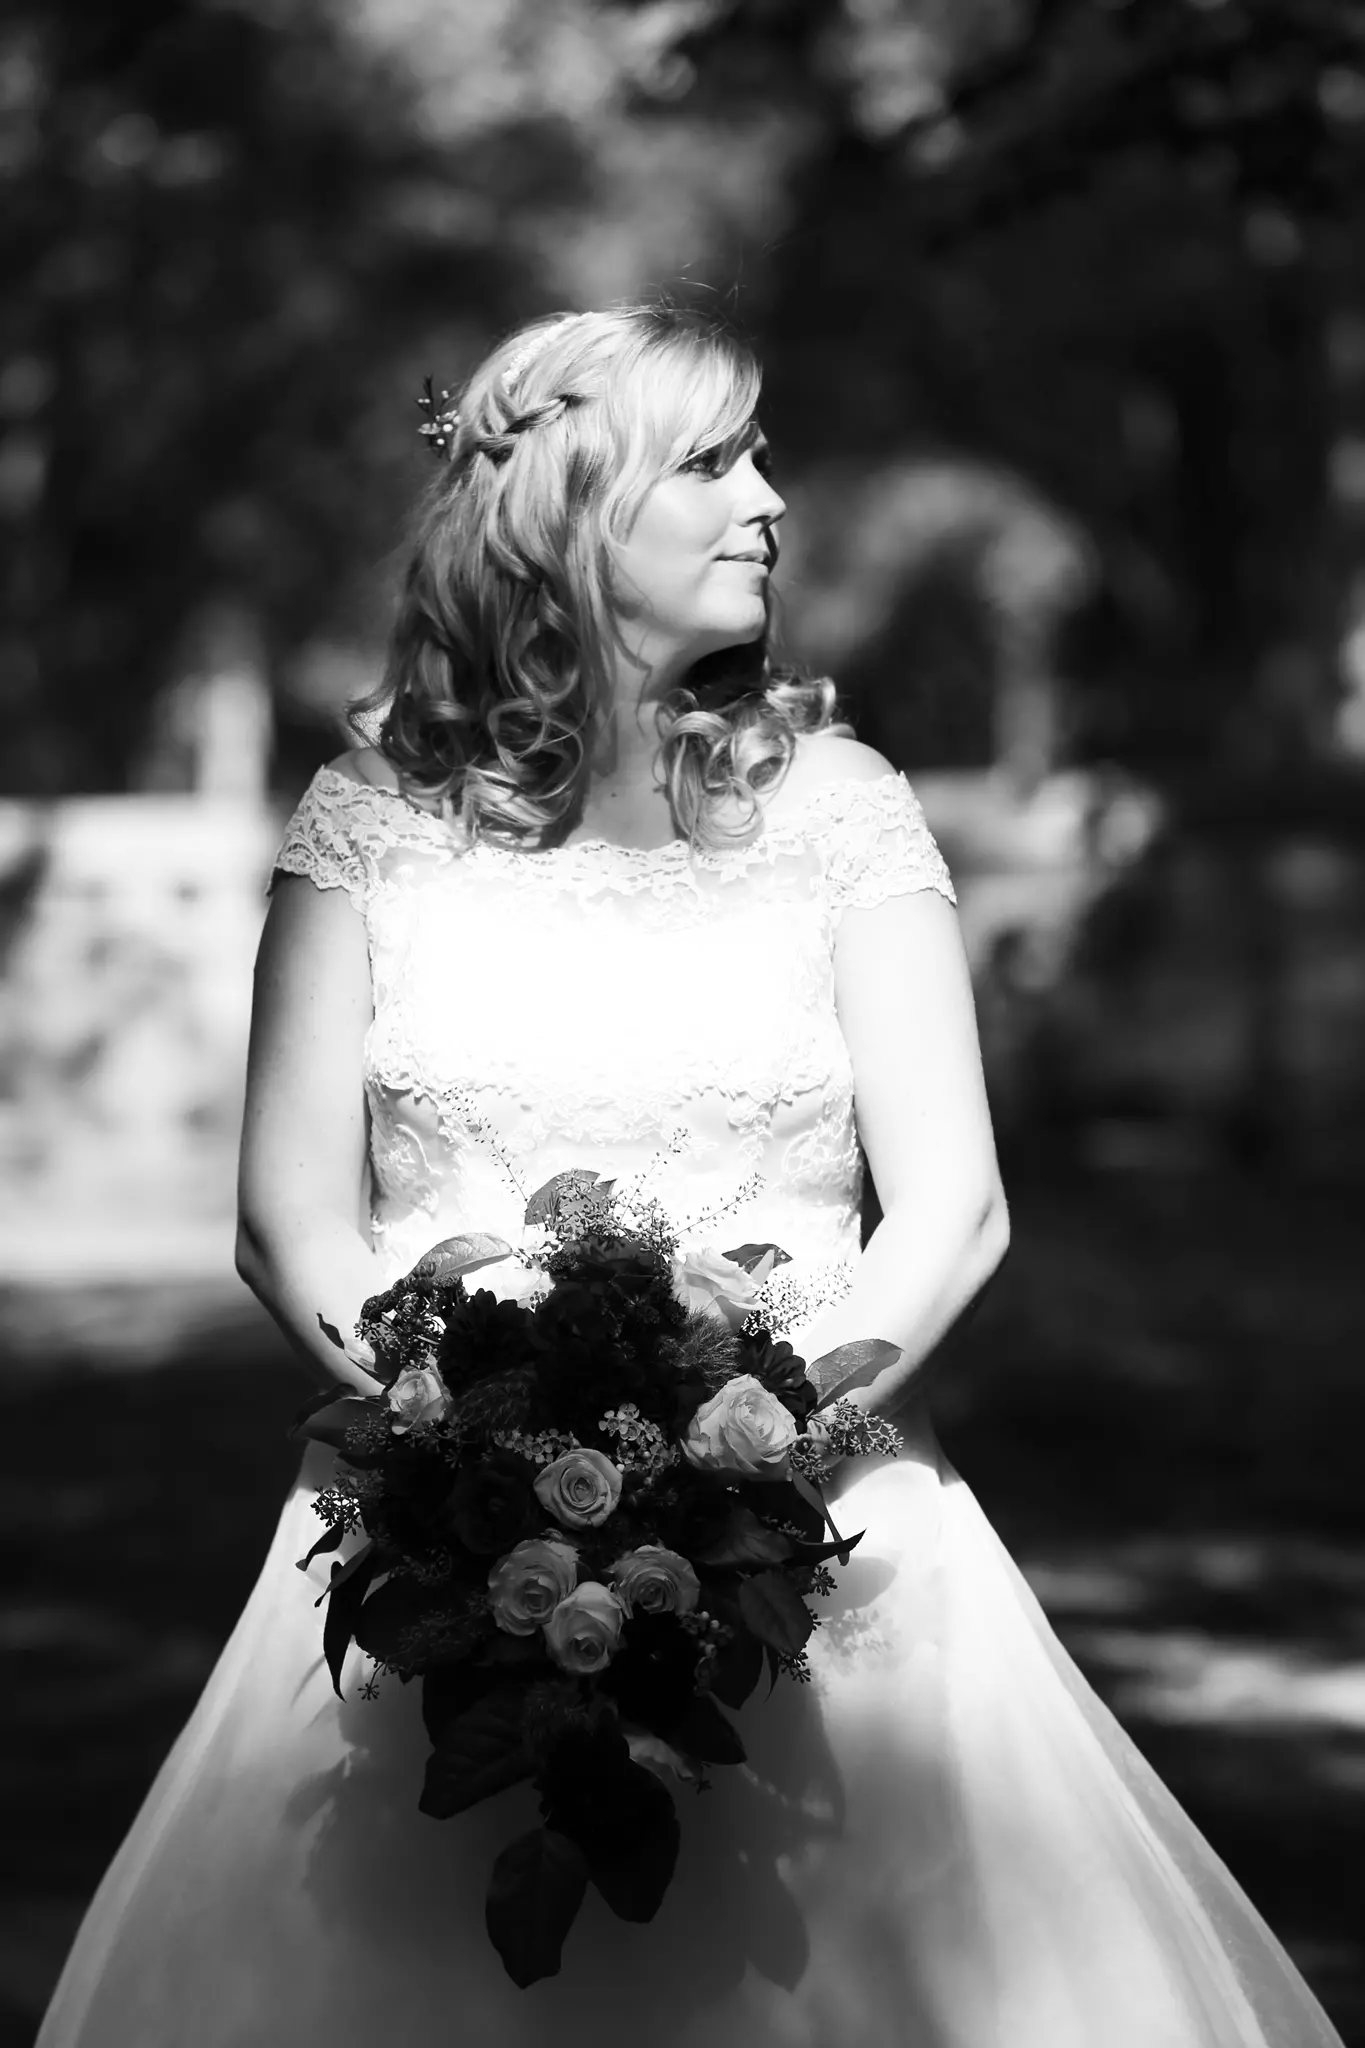
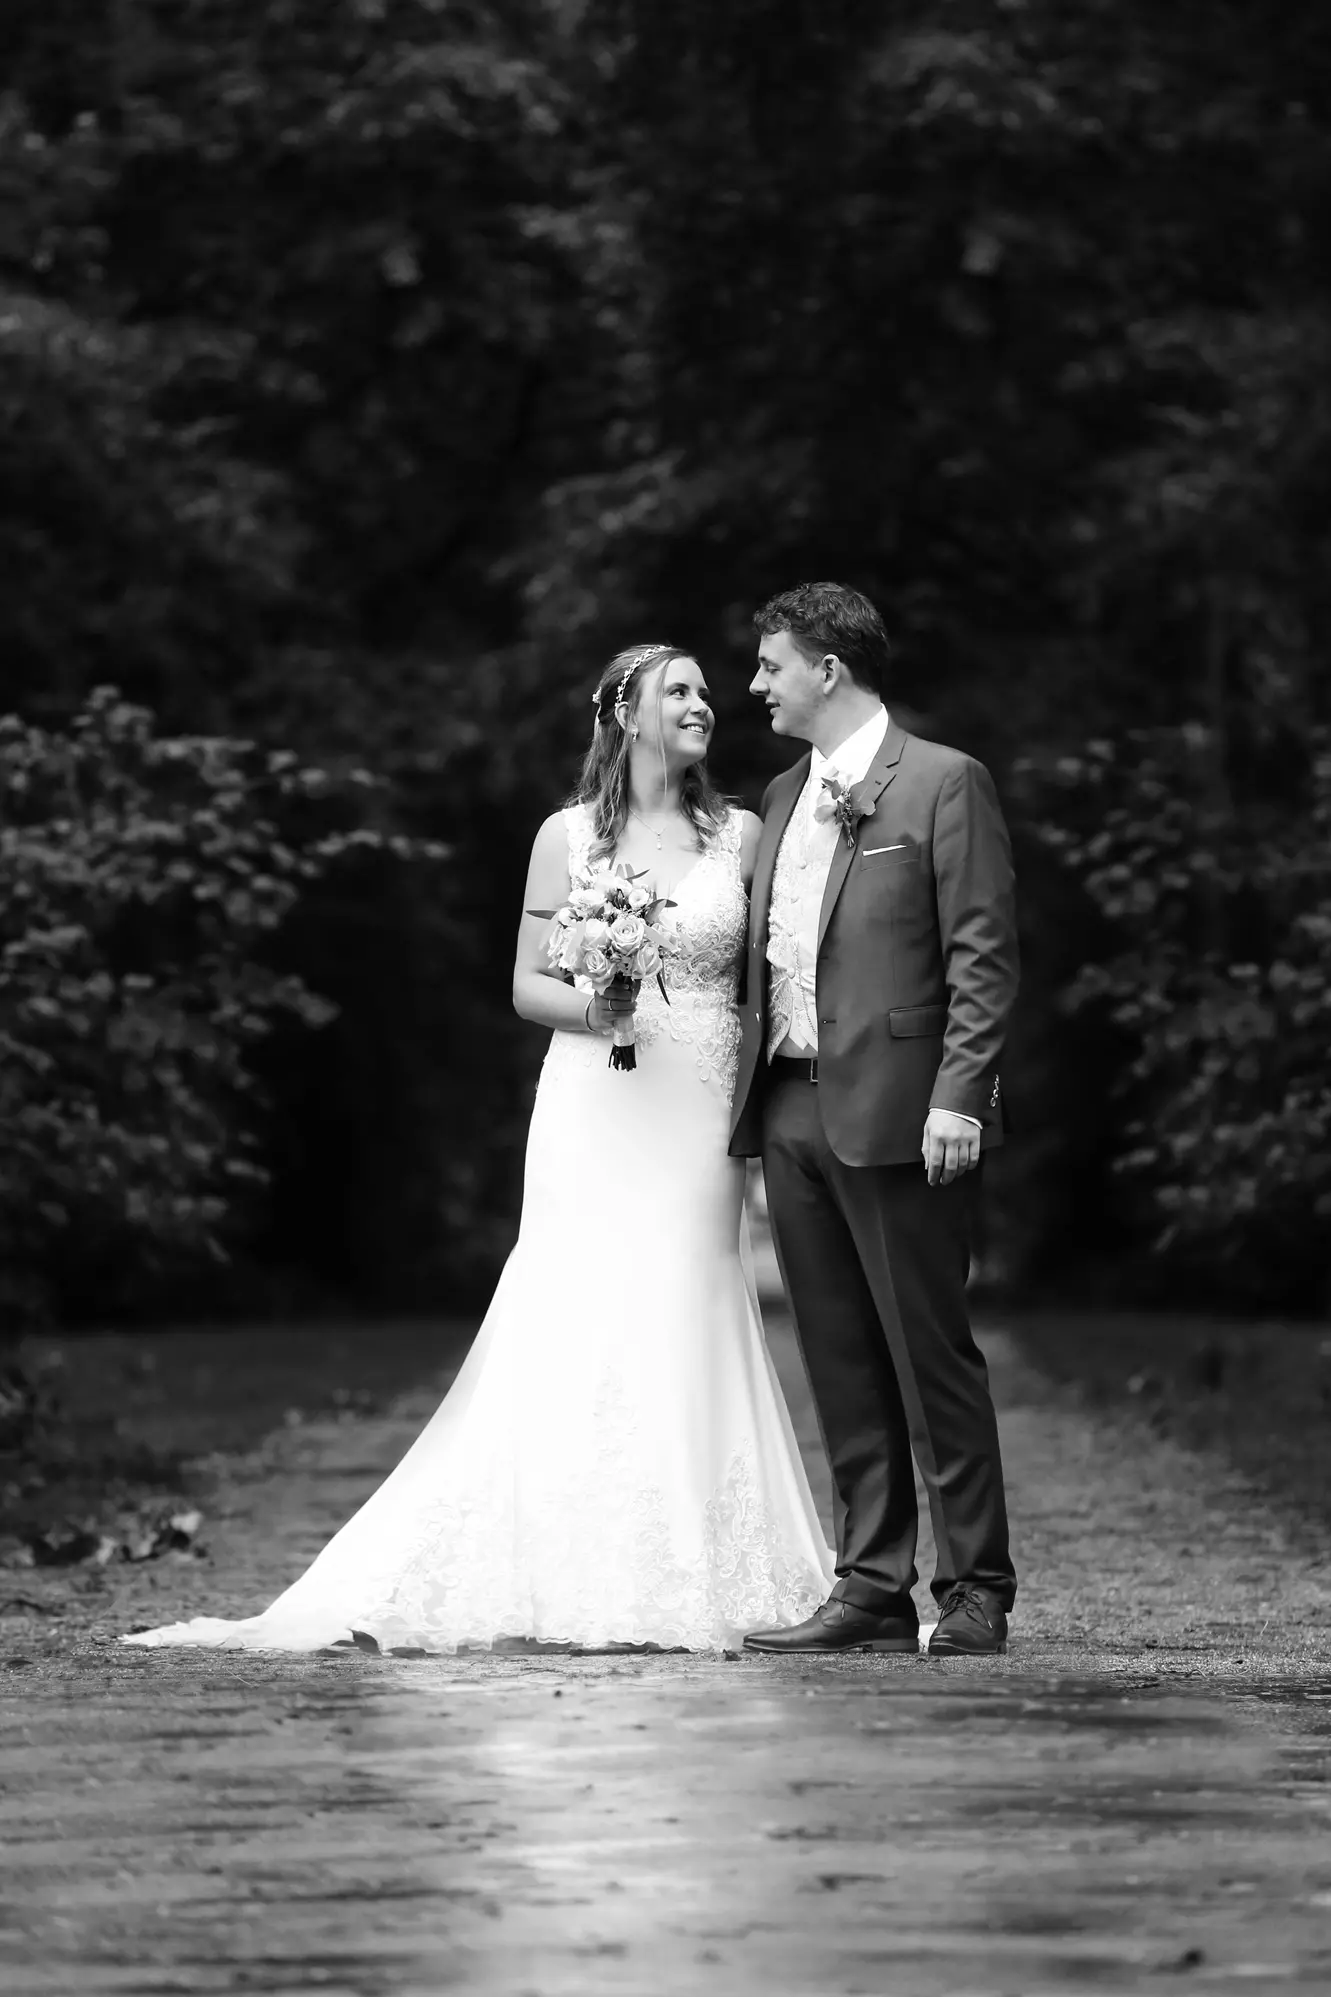
Assignment: Studio photography. I notice that I often find black and white portraits the most powerful when I photograph in the studio.
Assignment: Studio photography.
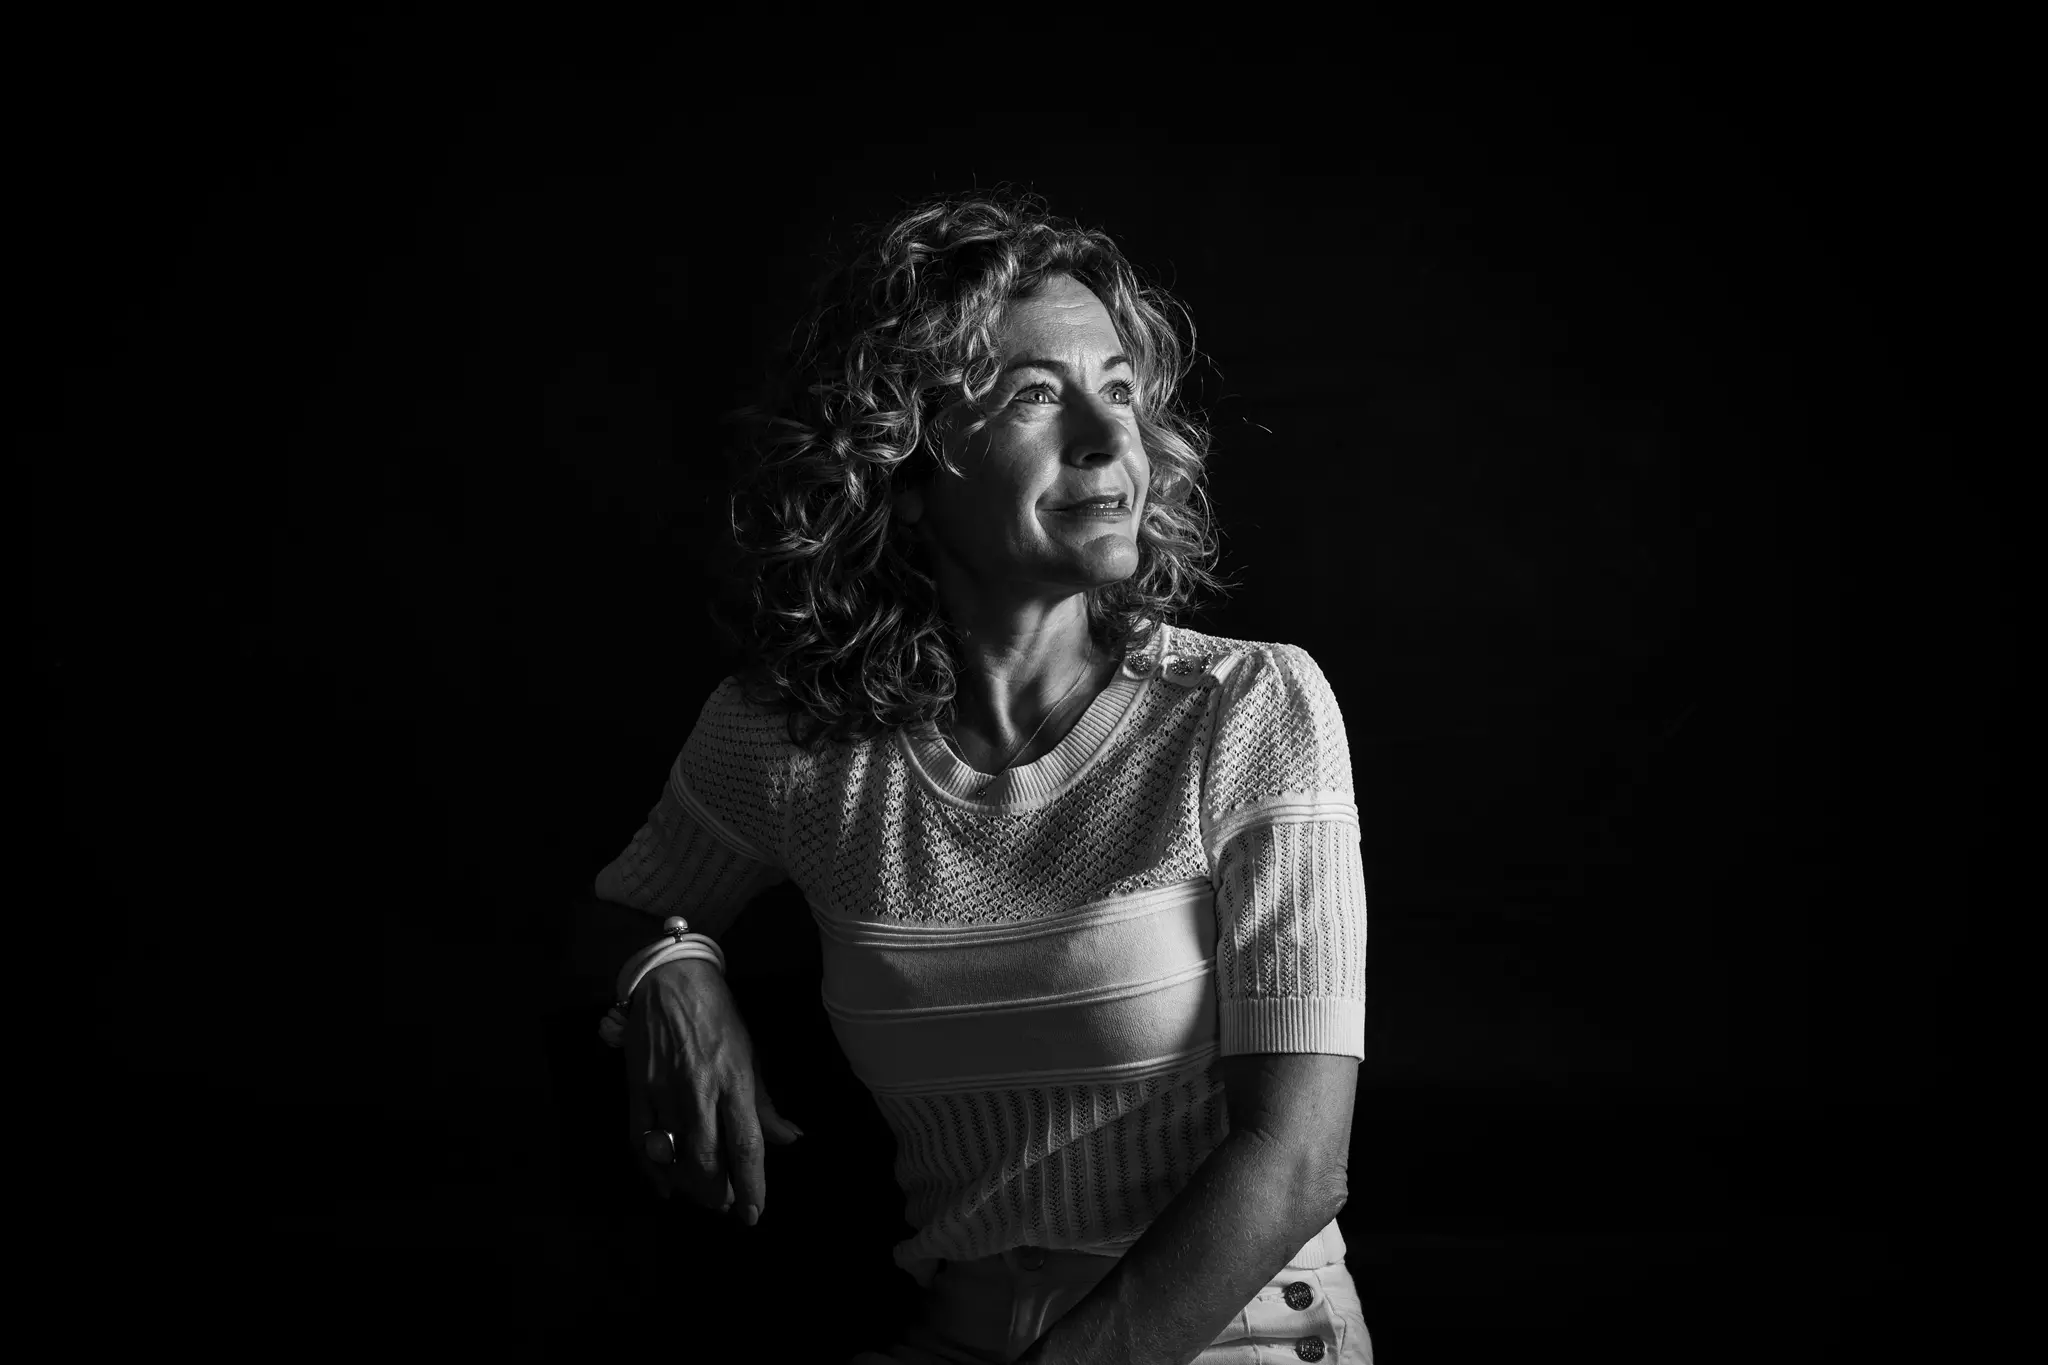
Assignment: Studio photography.
Photo chain
At the beginning of the course, two students were sent an abstract photo by the teacher. Their task was to take a photo based on this photo and send it to the next student. That student took a photo based on that photo and sent it on to the next student. Eventually, a chain reaction of photos is created, where ,on the last day, the first photo of the assignment is compared with the last photo. I was the first student to see the photo and had to take a photo based on a colorful abstract image. I placed the teacher's image as a background on my laptop, making the colors shine on my keyboard. I placed a black sheet of paper on it with lipstick on top. That was my first photo. I received the second photo from a fellow student. A colorful creation. I can't imagine
anything more colorful than my partner’s 3D printer with all the RGB lights, so that was my second "photo chain" photo.

Assignment: Photo chain. Photo 1 made by using my laptop as a light source.
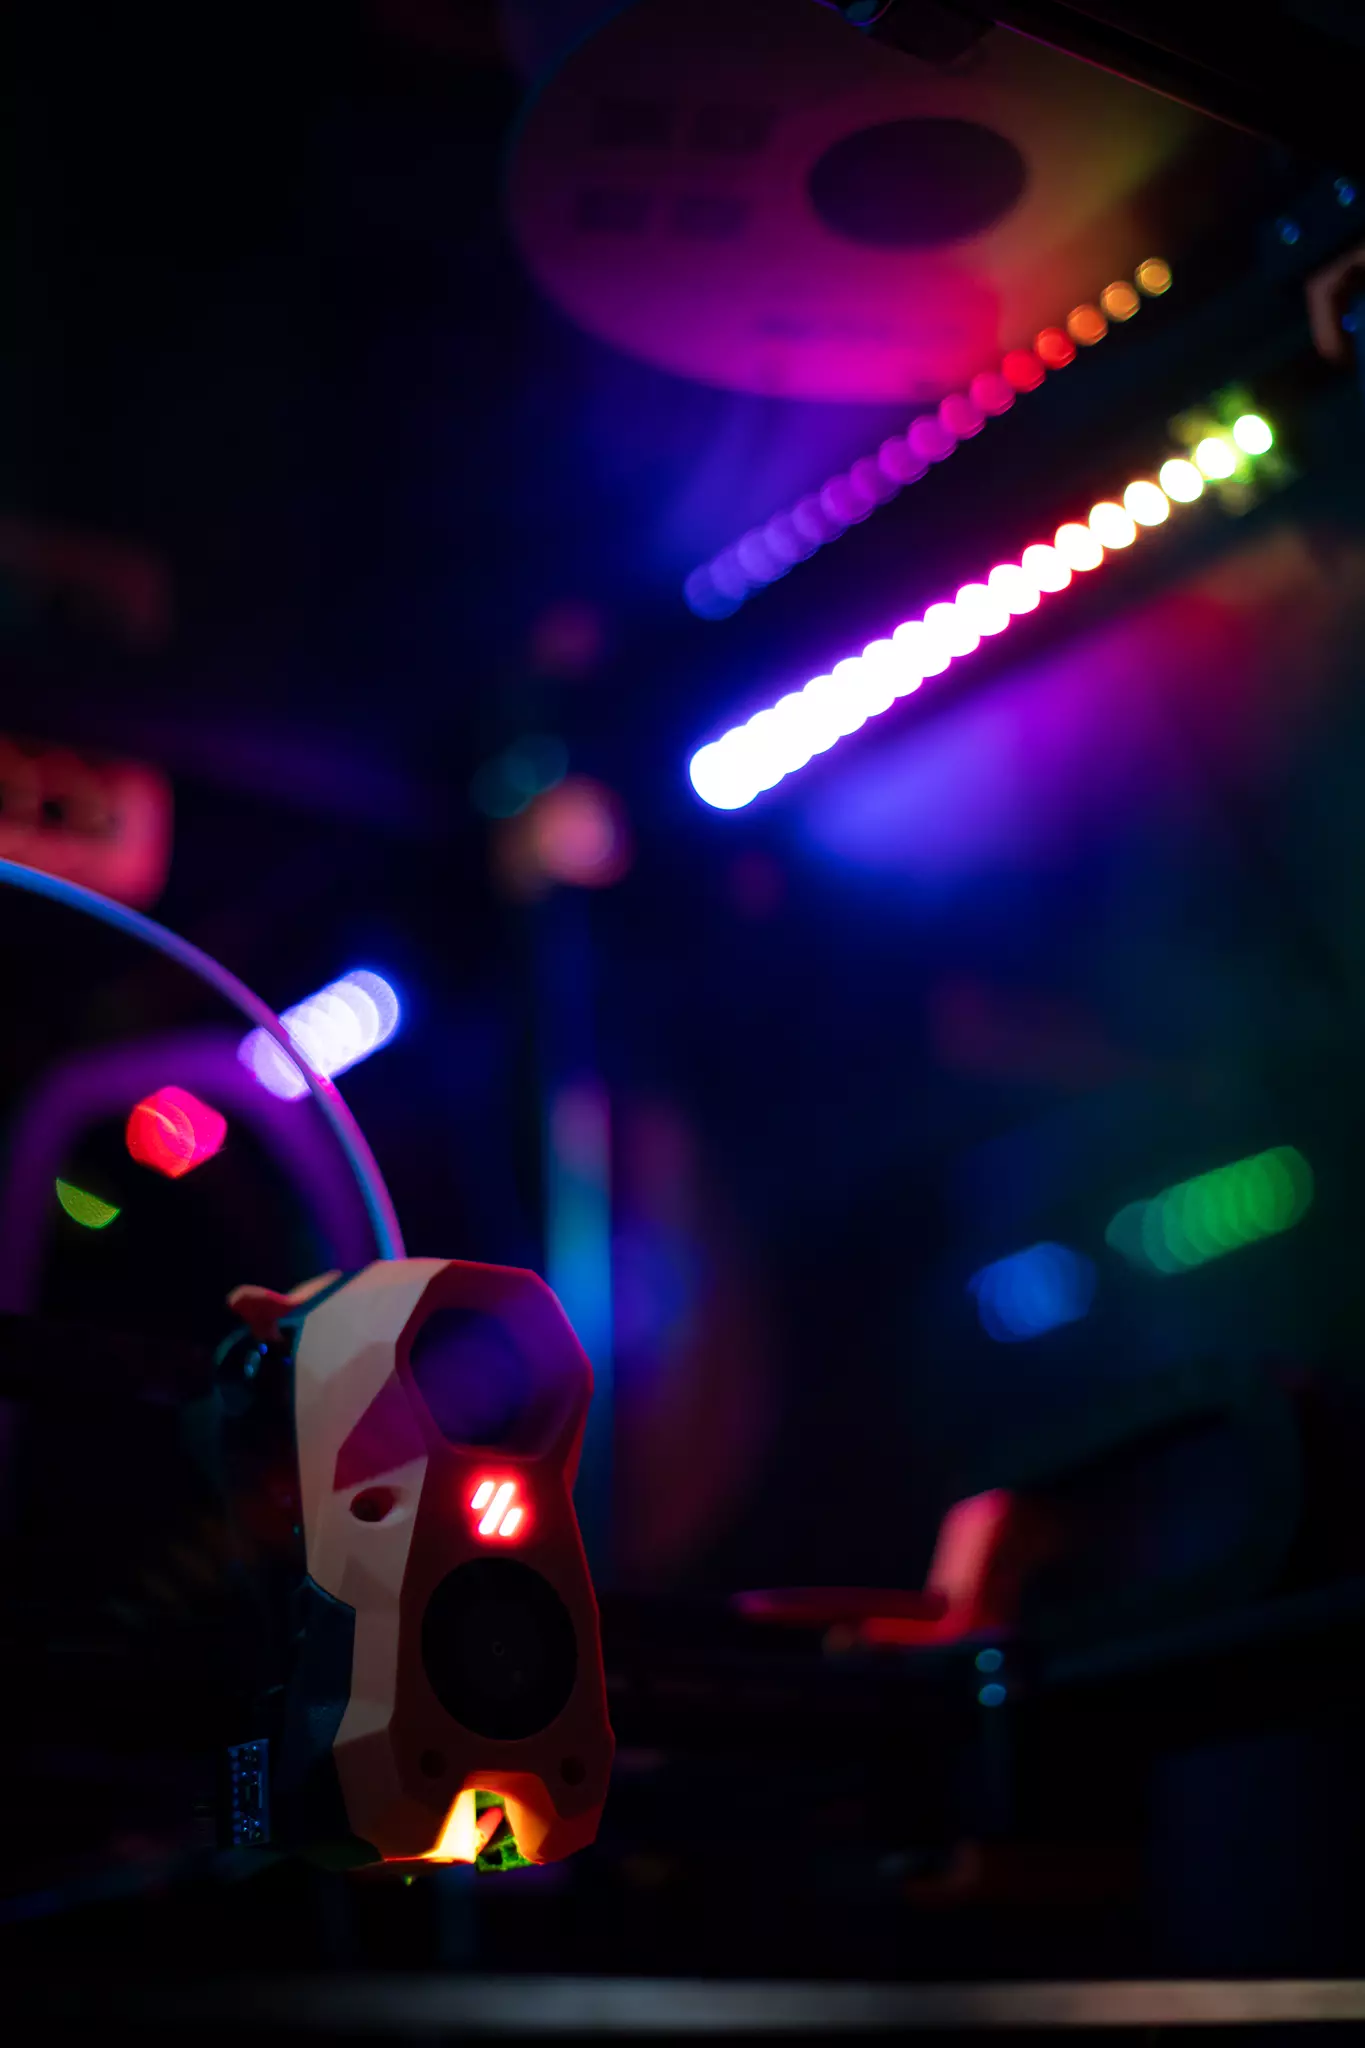
Assignment: Photo chain. Photo 2: My partner’s
3D printer.
It’s a wrap!
As you can read above, my fellow students and I have covered quite a few techniques. In
addition, we also covered things like white balance, storytelling, famous photographers,
Photoshop, Lightroom, creative thinking, free work and much more. I found it incredibly valuable to work with a class of motivated (and very kind) photographers on these themes. Ultimately, my technical knowledge has increased and I have stepped out of my comfort zone considerably, which has allowed me to try out even more fun, new techniques. At the end of the course, there was a final assignment. Plus… a final grade! You can read about that in the next blog.